Raspberry Pi: Installing Audio Video Streaming Service (AVSS)
Wednesday 16th June 2021 4:33pm
<<IMAGE>>
In this tutorial we are going to create a headless audio video streaming service. Headless is a Raspberry Pi without a monitor, we’ll also be discarding the keyboard and mouse.
But first a little history about this project; a friend of mine runs a local radio station and asked if I could setup a Raspberry Pi to stream a live video to Facebook. At first I thought OK let’s install OBS studio which is an open source video streaming application. It has become the standard way to stream using Windows, Mac or Linux. The Raspberry Pi runs a version of Linux called Debian; but OBS doesn’t offer a download specifically for the Pi. So I needed to download the source code and compile the software on the Pi.
<<IMAGE>>
Great I had installed OBS studio onto the Pi. Unfortunately OBS Studio does not have GPU hardware encoding for the Pi when converting the video stream, which leaves only software encoding. Whilst the Raspberry Pi 4 has a quad core processor running at 1500Mhz; this isn’t enough to cope with the burden of software encoding. At a resolution of 1920×1080 it could only manage 3-4fps (frames per second). So I reduced the resolution to 1280×720 and the frames per second went up to 7fps. Ideally I would like to see a minimum of 20fps. I reduced the resolution further to 960×540 giving 14fps. Still no enough; I then overclocked the processor taking it from 1500Mhz to 2000Mhz now I was getting 18-20fps and I thought this is looking promising. Better take a look at the temperature of the processor … 75’c, that’s not looking good. If I proposed to use OBS the poor Pi wouldn’t last very long without damage. I think we need to look for a different solution.
OBS studio uses FFmpeg under the hood. So instead of using OBS studio we’ll be dealing directly with FFmpeg using the command line. I decided on the official Raspberry Pi Camera for this project as the camera module can be configured with a multitude of options and comes with a program called Raspivid to configure these options, plus it frees up a USB connector. That’s the video side of things taken care of, now for the audio. My friend already had a USB sound card made by Alesis Phono Link so we’re ready to go.
What we need:
| · Raspberry Pi 4 · 16GB SD Card · Power Supply Unit |
· PiCamera with cable · 5v PWM Fan (speed control) · USB Sound card |
· Light Emitting Diode (LED) · Piezo Speaker · Switch |
<<IMAGE>>
Download:
| · Raspbian OS | · Putty |
Installing the Hardware:
Because we want to install this headless, we need to find alternative ways of communicating with the user. For this we are going to fit an LED, a switch, a piezo speaker along with a fan to keep everything nice and cool. We will wire these devices to the GPIO pins.
The Raspberry Pi has a 40 pin connector some of which can be used as inputs or outputs. These connectors are called General Purpose Input Output pins. I drilled two holes into the lid of the case to mount both the LED and the switch then fitted the fan and speaker before wiring it up using the following pins:
Pin 4 ……. Positive Cooling Fan + (red cable) 5v
Pin 6 ……. Negative Cooling Fan – (black cable)
Pin 8 ……. PWM Cooling Fan Switch (blue cable)
Pin 12 ….. LED + (red cable)
Pin 14 ….. LED – (white cable)
Pin 17 ….. Switch + (red cable) 3v
Pin 18 ….. Switch – (black cable)
Pin 30 ….. Piezo Speaker – (black cable)
Pin 36 ….. Piezo Speaker + (red cable) 3v
Install Raspbian:
Download and install the Raspbian Pi Imager from the link above and also Putty (we’ll come back to putty later).
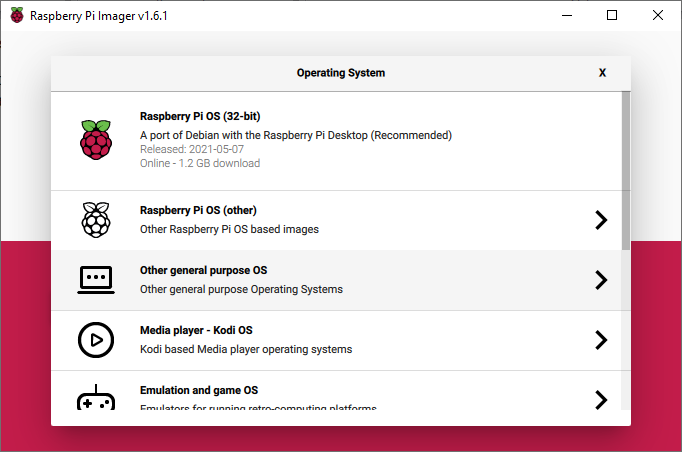
Click onto Choose OS and select Raspberry Pi OS (other):
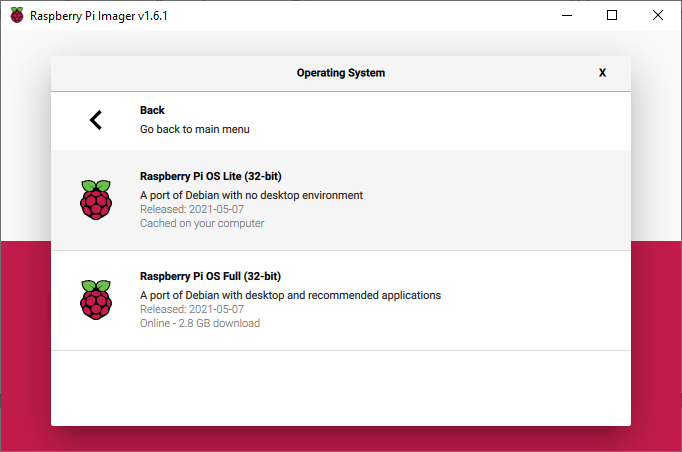
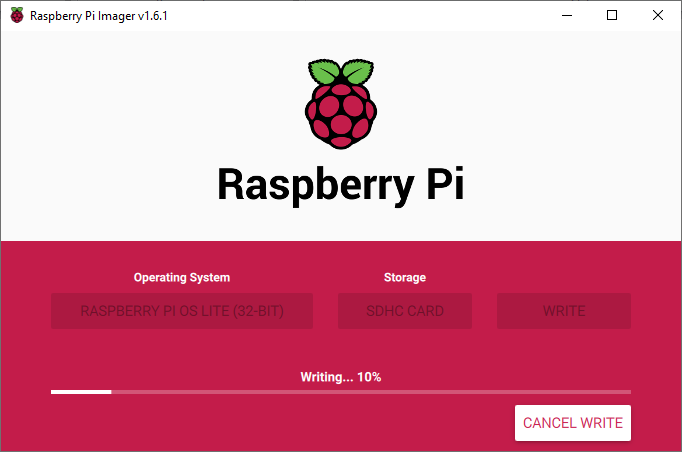
Click onto Raspberry Pi OS Lite (32-bit):
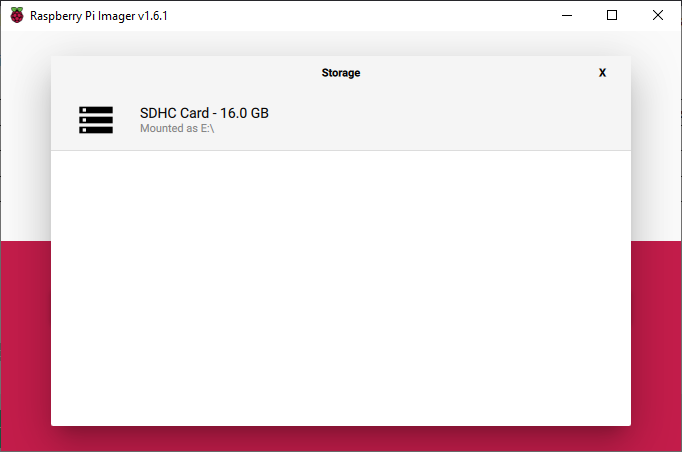
Next Choose Storage and select the SD card.
Click onto Write and you will see the following warning:
Click onto Yes to start copying the OS onto the card.
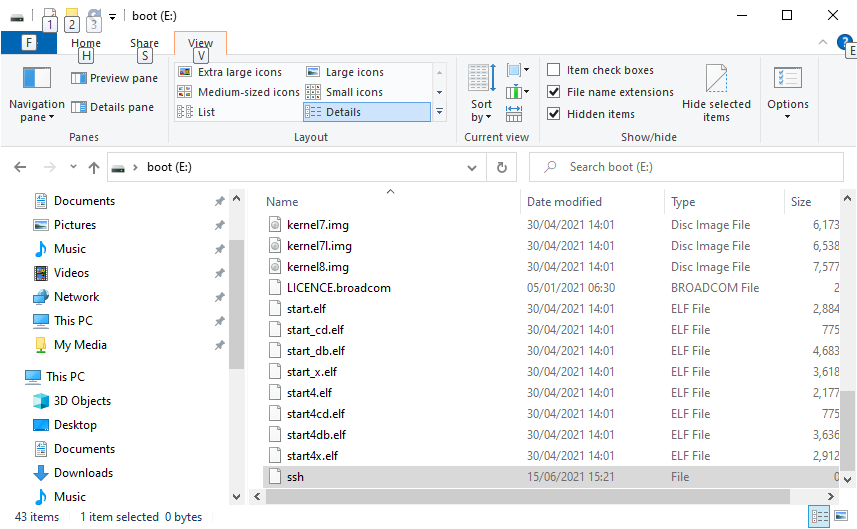
Open file explorer and navigate to the boot drive of the SD card and create a new file and name it ssh without any filename extension. This will have the effect of starting the Pi with SSH (Secure Shell) enabled. Remove the SD card.
Next place the SD card into the Pi. It may be necessary to connect a monitor just so we can discover the IP address allocated to it, which is displayed during startup.
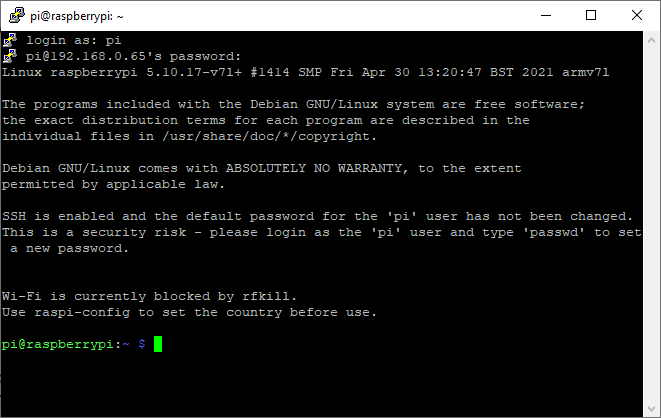
Armed with the IP address open Putty we downloaded and installed earlier and type in the IP address of the Pi. This opens a window asking to accept an encryption certificate:
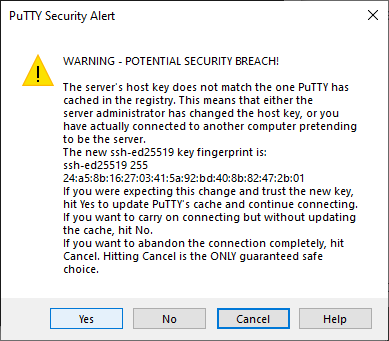
Followed by the username and password, the default username is pi and the default password is raspberry.
The Software:
Now before we start let’s define how we would like the software to work.
Startup Process: Power up the Pi and wait until you hear 2 beeps and if headphones are connected hear the words “Hello this is Raspberry Pi and my IP address is …” followed by the IP address of the device. This indicates the Pi is ready to start streaming.
Configure Settings: Create a webpage so a computer connected to the local network can open a web browser and type the IP address followed by a colon and port number 8000 to display a preview of the camera image and the settings that can modified
Start Stream: Press the switch once to start streaming to facebook or to test your settings before streaming live to Facebook broadcast over the local area network (LAN) using. The LED, speaker will flash and beep 4 times (morse code letter ‘v’ for videoing) before starting the stream if headphones are connected you will also hear the words “Starting stream”; once streaming begins the led remains on.
End Stream: To stop the stream press the switch again the LED and speaker will flash and beep once (morse code letter ‘e’ for ending) and the words “Ending stream” can be heard through the headphones. The LED will remain off once the stream has stopped
Shutdown Process: To power down the RPi press and hold the switch for four seconds; the led flashes and the speaker beeps three times (morse code letter ‘s’ for shutdown) and the words “Shutting down” can be heard through headphones before starting the shutdown process.
Updates: Updates are downloaded and installed every day, every week, or every month. You can also choose to update/upgrade the operating system.
Trouble-shooter: If you hear the ‘sos’ distress message in morse code (ie dot-dot-dot dash-dash-dash dot-dot-dot) repeating, plug in a pair of headphones and listen to one of the following error messages:
|
· “Warning no camera detected” · “Warning no USB sound card detected” |
· “Warning no network detected” · “Warning no internet detected” |
How To Install:
I have created a bash script to install AVSS along with all dependencies. Using Putty log into the Pi and create a file called install_avss.sh by typing
nano install_avss.sh
Paste the following into the file then press ctrl-S to save the file followed by Ctrl-X to exit:
#!/bin/bash
# Audio Video Streaming Service (AVSS)
# Script for installing AVSS onto a headless Raspberry Pi installed with buster lite
# Need to make it executable and run as root ie.
# sudo chmod +x install_avss.sh
# followed by
# sudo bash install_avss.sh
# Written by: Phantom Raspberry Blower
# Date May 2021

if [ "$EUID" -ne 0 ]
then echo "Needs to be run as root! Type in: sudo bash install_avss.sh"
exit
fi
WORK_DIR=/home/pi
echo "-----------------------------------"
echo "        Installing updates"
echo "-----------------------------------"
apt-get -y update
echo "-----------------------------------"
echo "      Upgrading installation"
echo "-----------------------------------"
apt-get -y upgrade
echo "-----------------------------------"
echo "         Installing FFmpeg"
echo "-----------------------------------"
apt-get -y install ffmpeg
echo "-----------------------------------"
echo "        Installing festival"
echo "-----------------------------------"
apt-get -y install festival
echo "-----------------------------------"
echo "        Installing PiCamera"
echo "-----------------------------------"
apt-get -y install python-picamera
apt-get -y install python3-picamera
echo "-----------------------------------"
echo "         Installing PyGame"
echo "-----------------------------------"
apt-get -y install python3-pygame
echo "-----------------------------------"
echo "          Installing git"
echo "-----------------------------------"
apt-get -y install git
echo "-----------------------------------"
echo "          Installing pip"
echo "-----------------------------------"
apt-get -y install python-pip
apt-get -y install python3-pip
echo "-----------------------------------"
echo "           Installing sh"
echo "-----------------------------------"
pip install sh
echo "-----------------------------------"
echo "     Making working directory"
echo "-----------------------------------"
mkdir -p "$WORK_DIR"/.av_stream
cd "$WORK_DIR"/.av_stream
echo "-----------------------------------"
echo "        Getting AVSS source"
echo "-----------------------------------"
git clone --recursive https://github.com/PhantomRaspberryBlower/repository.prb-avss "$WORK_DIR"/.av_stream
mv "$WORK_DIR"/.av_stream/.av_stream/* "$WORK_DIR"/.av_stream/
mv "$WORK_DIR"/.av_stream/.git "$WORK_DIR"
mv "$WORK_DIR"/.av_stream/.gitattributes "$WORK_DIR"
rm -r "$WORK_DIR"/.av_stream/.av_stream
cp "$WORK_DIR"/.av_stream/config.bkp.ini "$WORK_DIR"/.av_stream/config.ini
cp "$WORK_DIR"/.av_stream/asound.conf /etc/asound.conf
cp "$WORK_DIR"/.av_stream/av_stream.service /etc/systemd/system/av_stream.service
cp "$WORK_DIR"/.av_stream/redirect.service /etc/systemd/system/redirect.service
systemctl enable /etc/systemd/system/av_stream.service
systemctl enable /etc/systemd/system/redirect.service
chown pi:pi -R "$WORK_DIR"
echo "-----------------------------------"
echo "           Enable camera"
echo "-----------------------------------"
raspi-config nonint do_camera 0
echo "-----------------------------------"
echo "       Cleanup installation"
echo "-----------------------------------"
apt -y autoremove
echo "==================================="
echo "           Completed :)"
echo "==================================="
echo ""
echo "-----------------------------------"
echo "           Rebooting"
echo "-----------------------------------"
reboot
Then type:
sudo chmod +x install_avss.sh
To make it an executable file, type the following to execute the script:
sudo bash install_avss.sh
<<IMAGE>>
This will take approx. 30 minutes to complete and will eventually reboot itself. If you hear two beeps about a minute after reboot, everything is working 🙂
Initial setup Process:
Connect the headphones, network cable, USB soundcard, power cable and power up the Raspberry Pi. Put the headphones on within a minute of the Pi starting and you will hear “Hello this is Raspberry Pi and my IP address is …”. Write down the IP address, you will also hear through the built-in speaker two beeps to notify you that the Pi is ready. Using a computer connected to the local network open a web browser and type the IP address you wrote down followed by a colon and port number 8000 i.e. if the IP address is “192.168.0.10” type 192.168.0.10:8000 into the browser. This displays a webpage with a preview of the camera image and the settings you can modify:
<<IMAGE>>