Raspberry Pi: Installing an Operating System (Raspbian)
Friday 28th July 2017 3:01pm
The Raspberry Pi does not have a traditional hard drive like a desktop PC; instead an SD card is used to install the operating system. When it comes to installing an operating system there are a number of options available:
|
|
In this tutorial we are going to install the Raspbian OS. Raspbian comes in two different types: Raspbian Jessie and Raspbian Jessie Lite. Raspbian Jessie has everything you would expect from a desktop operating system including a GUI (graphic user interface), whereas the lite version only installs the bare essential software without a GUI.
Prepare the SD Card
If you are going to install Raspbian on a brand new SD card the following procedure isn’t required. If you are installing onto an SD card that has been used previously for something else then you may need to clean the sd card first. This will reset the sd card and remove any partitions present.
Using a Windows PC open a Command Prompt and type:
diskpart
This opens another window showing the Diskpart command prompt. To display a list of the available disks type the following:
list disk
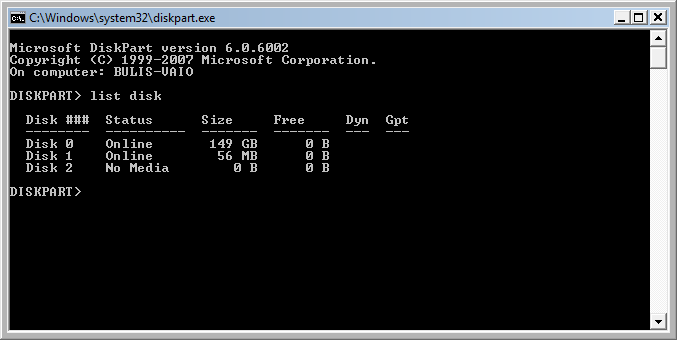
Diskpart
Select the disk number for your SD card (in the above example this is Disk 1) by typing:
select disk 1
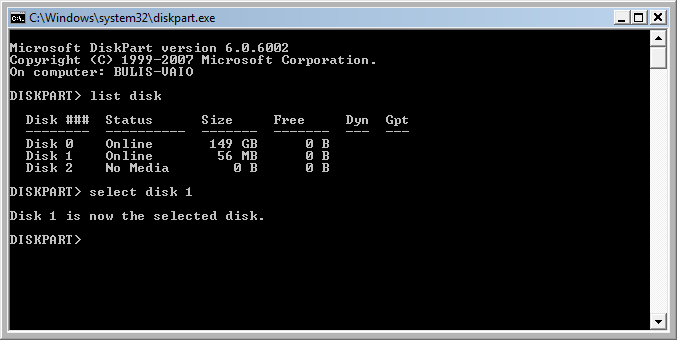
List Disk
Now to clean the SD disk and remove partitions type the following:
clean

Clean Disk
Next remove the SD card and re-insert.
Install OS Image onto the SD Card
The first think we need to do is download an operting system image from https://www.raspberrypi.org/downloads/. In this tutrial I have chosen to download Raspbian Jessie Lite.
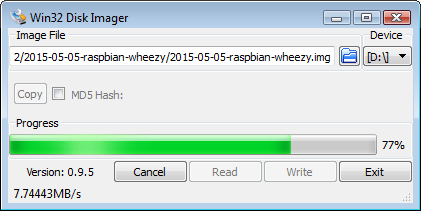
We will also need to download Win32 Disk Imager from https://sourceforge.net/projects/win32diskimager/. Now run the application Win32DiskImager to copy the Raspbian Disk Image to the SD Card:
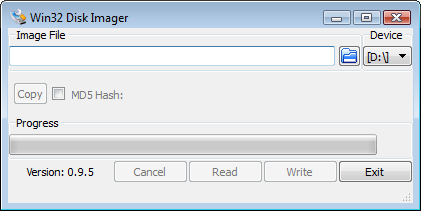
Win32DiskImager
Click onto the blue folder icon and navigate to the OS image (in my case Raspbian Jessie Lite):
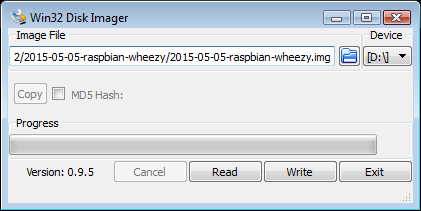
Win32 Disk Imager 2
Now click onto the Write button to start the process, this will display the following warning before proceeding:
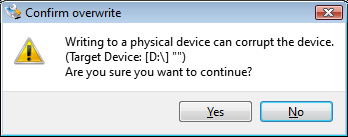
Confirm Overwrite
Click onto Yes to start, this will usually take 10-15 minutes to complete:
Win32 Disk Imager 3
Once the operating system completes copying to the sd card; we need to enable SSH. Raspbian Jessie Lite does not have SSH enabled by default so to enable this open the SD card, navigate to the boot directory and create a new file with the name ssh (without any file extension i.e. ‘.txt’). Remove the SD card from the PC, insert into thte Raspberry Pi, plug in the ethernet cable and power up.
Connect to the Raspberry Pi Over the Network
To access the Raspberry Pi over the network using SSH from another PC first download putty from http://www.putty.org. Next open the command prompt and type:
ping raspberrypi
This wil send four packets to the Raspberry Pi over the network and when it receives a response it will show the IP address allocated to the Raspberry Pi:
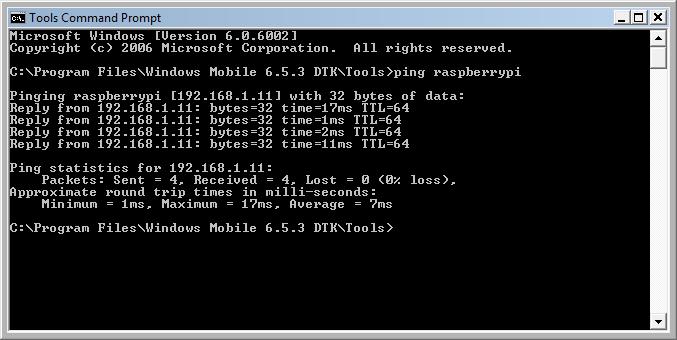
Ping
Using Putty from another PC on the network type in the IP address we discovered above (in my case 192.168.1.11) into putty and click onto Open:

Putty
After clicking Open you should see a login prompt; the default username is ‘pi‘ and the password is ‘raspberry‘:
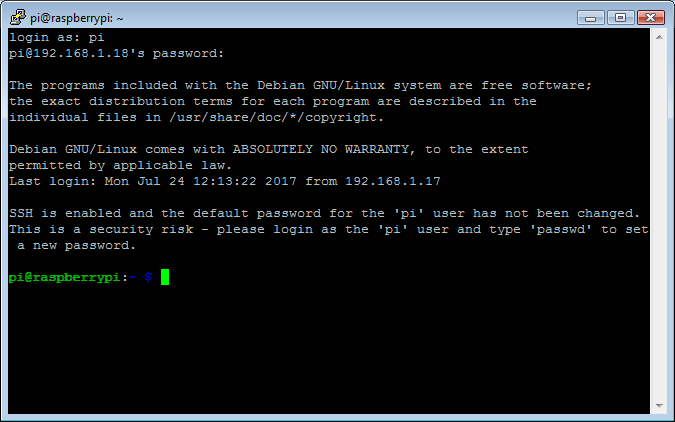
SSH
Configure Raspbian Jessie Lite
To initiate the configuration setup we need to type:
sudo raspi-config
When the system starts you will be presented with the Raspberry Pi System Configuration Tool. We need to set the following settings:
- Expand the File System
- Change Internationalization
- (Europe, London)
- Enable Camera
- Advanced Settings:
- Disable Overscan
- Enable SSH
- Disable Serial
Once complete select Finish and reboot:
sudo shutdown -r now