Kodi Tutorial: Remote Controls
Sunday 30th September 2018 12:45am
Choosing a Remote Control for Kodi
There a number of options when choosing a remote control for Kodi:
CEC Enabled TV
If your television is CEC enabled you should be able to use the remote control supplied with your TV.
OSMC Remote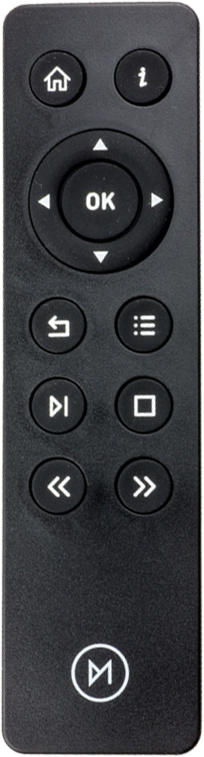
If that is not the case I would highly recommend the official remote from OSMC (www.osmc.tv) which retails for £16.99 plus postage. The remote has a minimalistic design with the following functions (from top to bottom):
- Home
- Information
- Navigation & Select (OK) keys
- Back
- Menu
- Play / Pause
- Stop
- Backward
- Forward
Web Page
Alternatively we can use a computer web browser to navigate to http://osmc/. This displays the following web page:
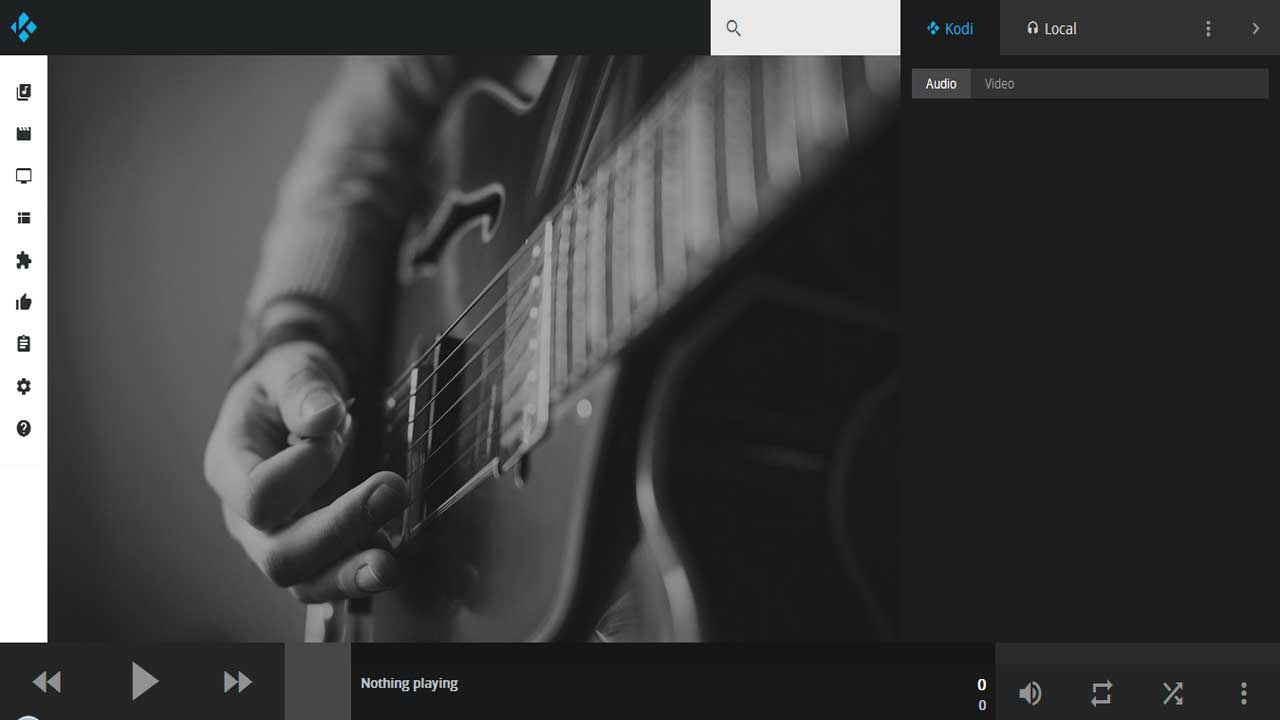
The menu on the left hand side contains all the options you could need to control Kodi. To Play a movie click onto the movie icon and select the movie you want to play:
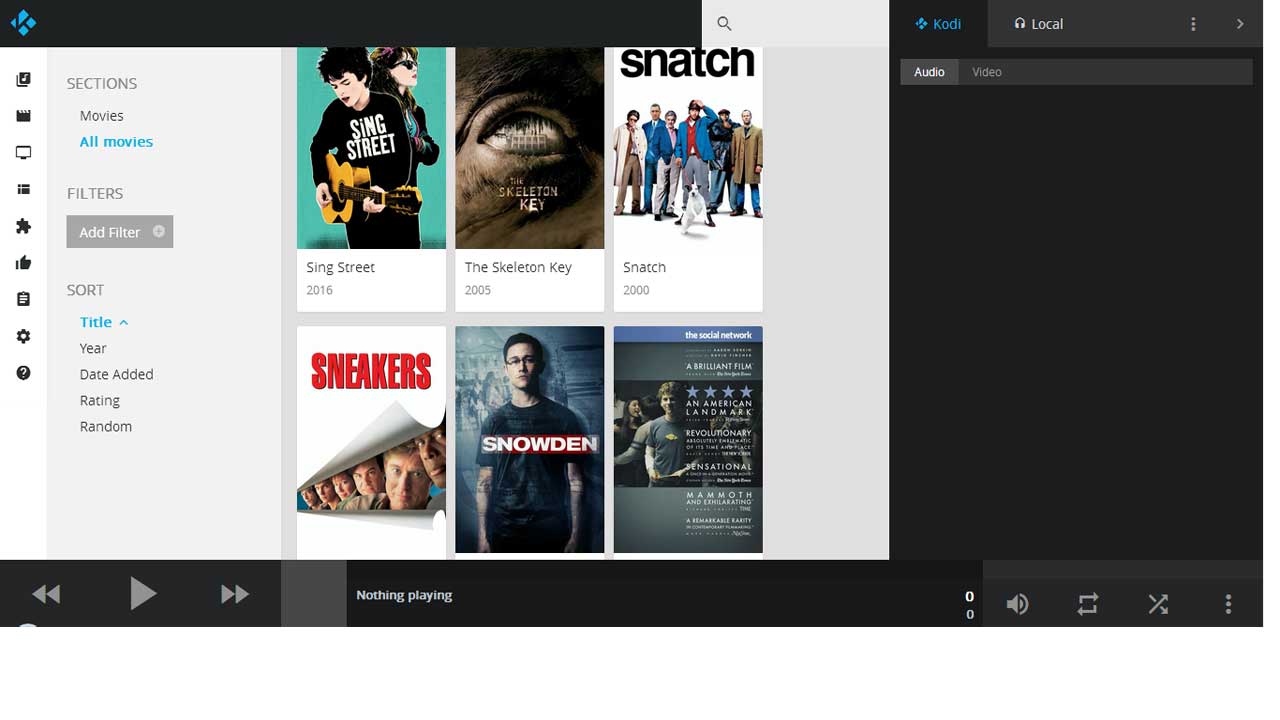
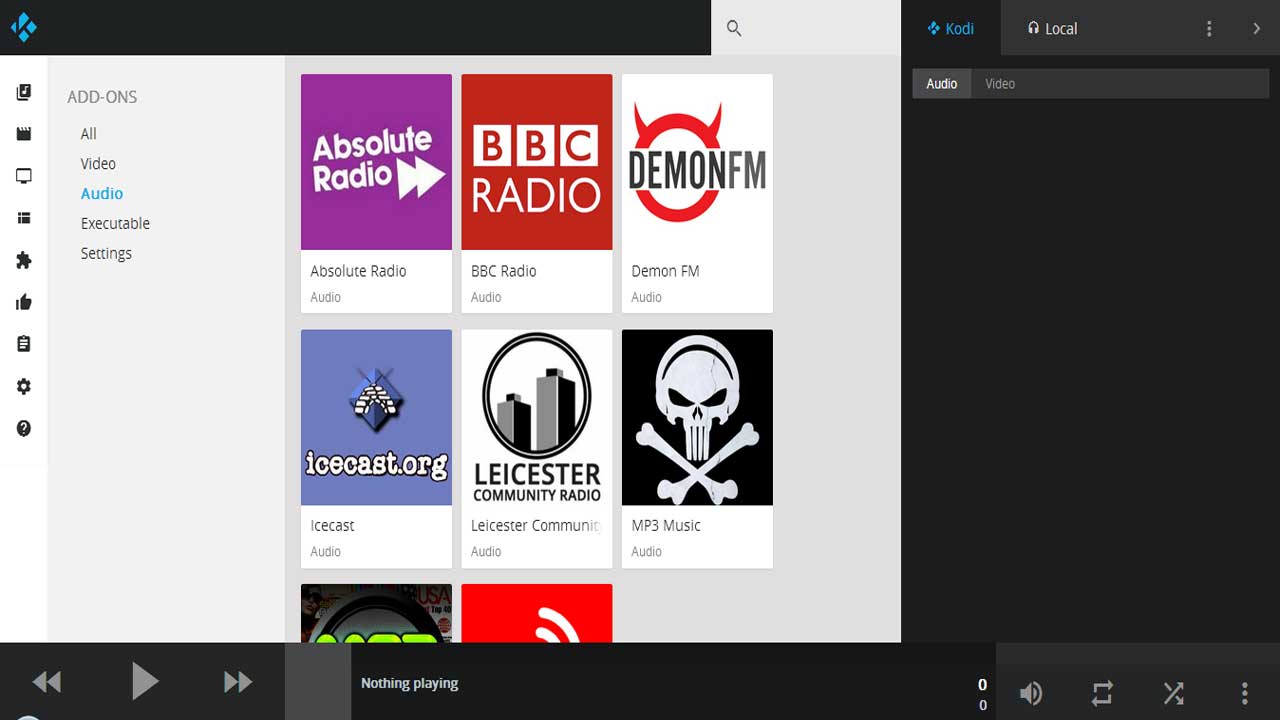
To open an addon click onto the Addons menu option:
Smartphone App
Another option turns your Smartphone into a remote control that issues commands over Wi-Fi. Download one of the following Smartphone applications from the ‘App Store’ for free (that’s the magic number):
- Apple iPhone (download Sybu)
- Android Phone (download Kore)
- Windows (download XBMC Remote)
After installing the Smartphone application you will need to discover the OSMC device on the network. At some point you will be asked for login credentials use the default settings username osmc and password osmc.
Any Old Remote Control
The last option is to make use of an existing remote control you have lying around the house, but this requires a bit of soldering and wiring to the internal GPIO (General Purpose Input Output) pins of the Raspberry Pi and also requires LIRC (Linux Infrared Remote Control). LIRC is a mature and stable open source library that provides the ability to send and receive IR commands.
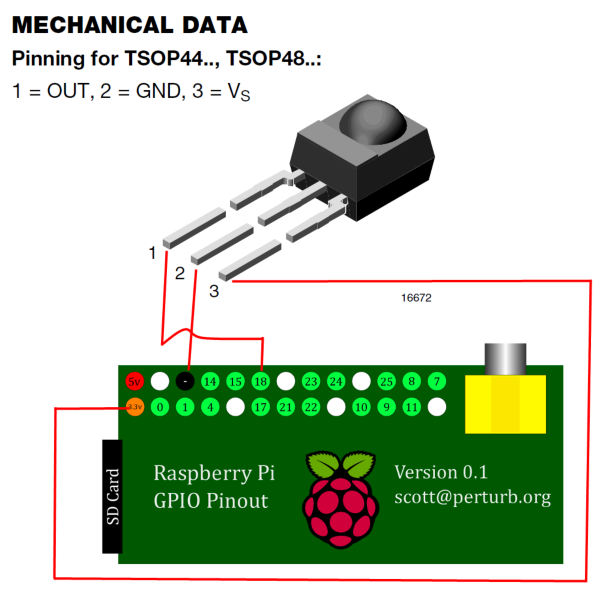
Wiring the Infrared Receiver to the Raspberry Pi, The Vishay TSOP31438 has 3 pins:
- Pin1 is DATA, goes to RPi pin 12 (GPIO 18)
- Pin2 is GND, goes to RPi pin 6 (GROUND)
- Pin3 is POWER, goes to RPi pin 1 (3.3V)
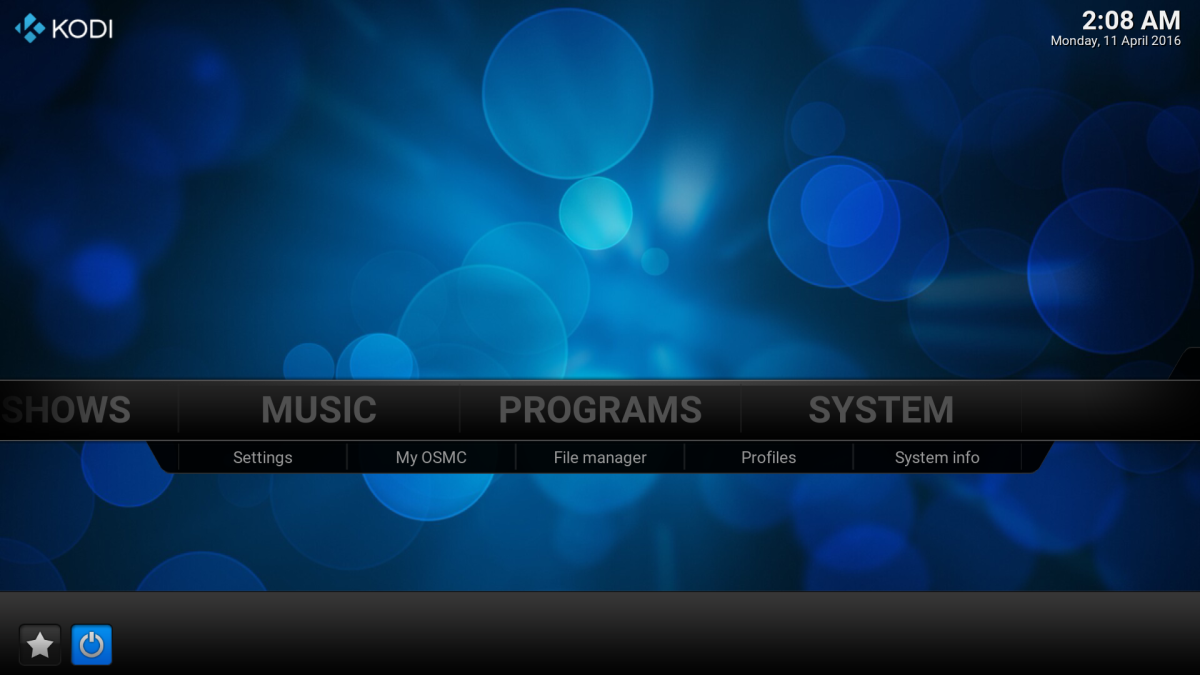
After switching on the Raspberry Pi for the first time you may need to connect a USB Keyboard to initially configure your remote control. Navigate to the “SYSTEM” menu and select “My OSMC” from the submenu:

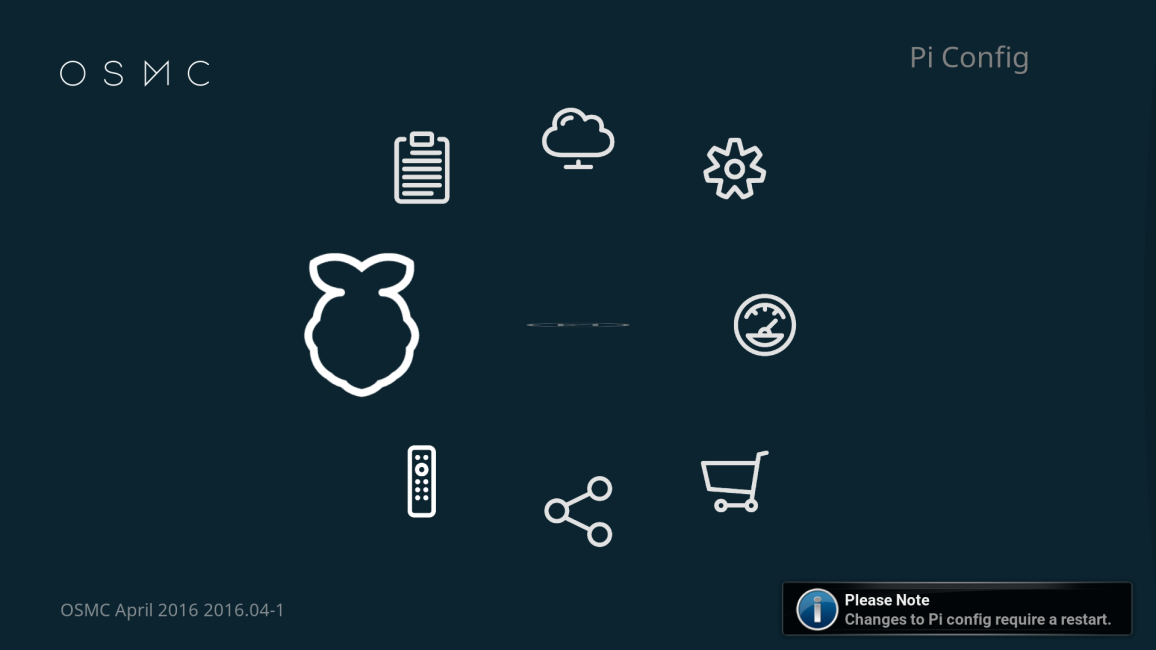
This opens the OSMC menu:

Navigate left to the raspberry symbol (Pi Config) on the left:

Select this to open the Pi Config settings:
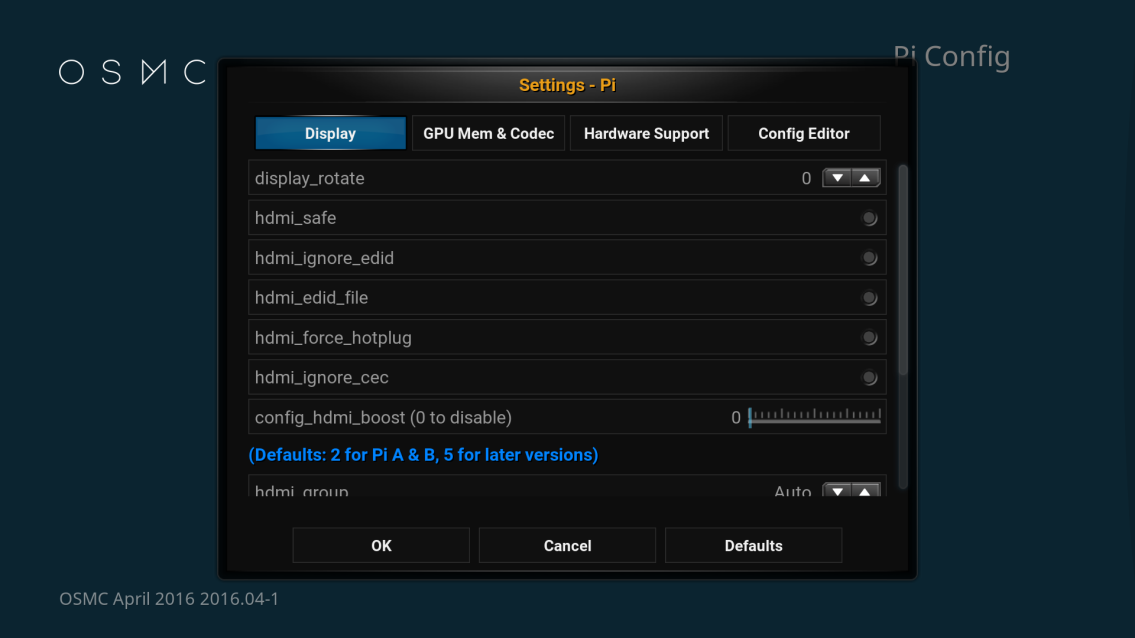
At the top of the Pi settings there are four tabs, navigate to the “Hardware Support” tab is highlighted then move down and select “Enable LIRC GPIO support”:
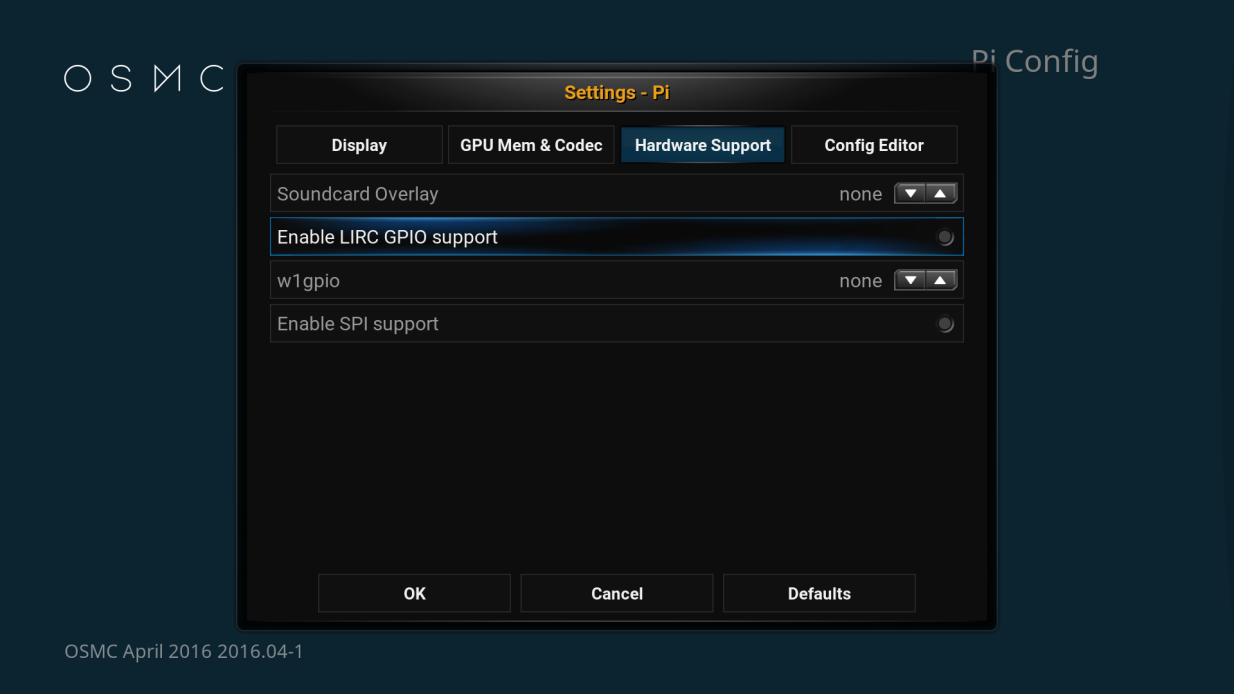
Click onto the “OK” button at the bottom of the page to save and exit the settings. On exit the message ‘Changes to Pi config require a restart.’:
Next navigate to the remote control symbol (Remotes):

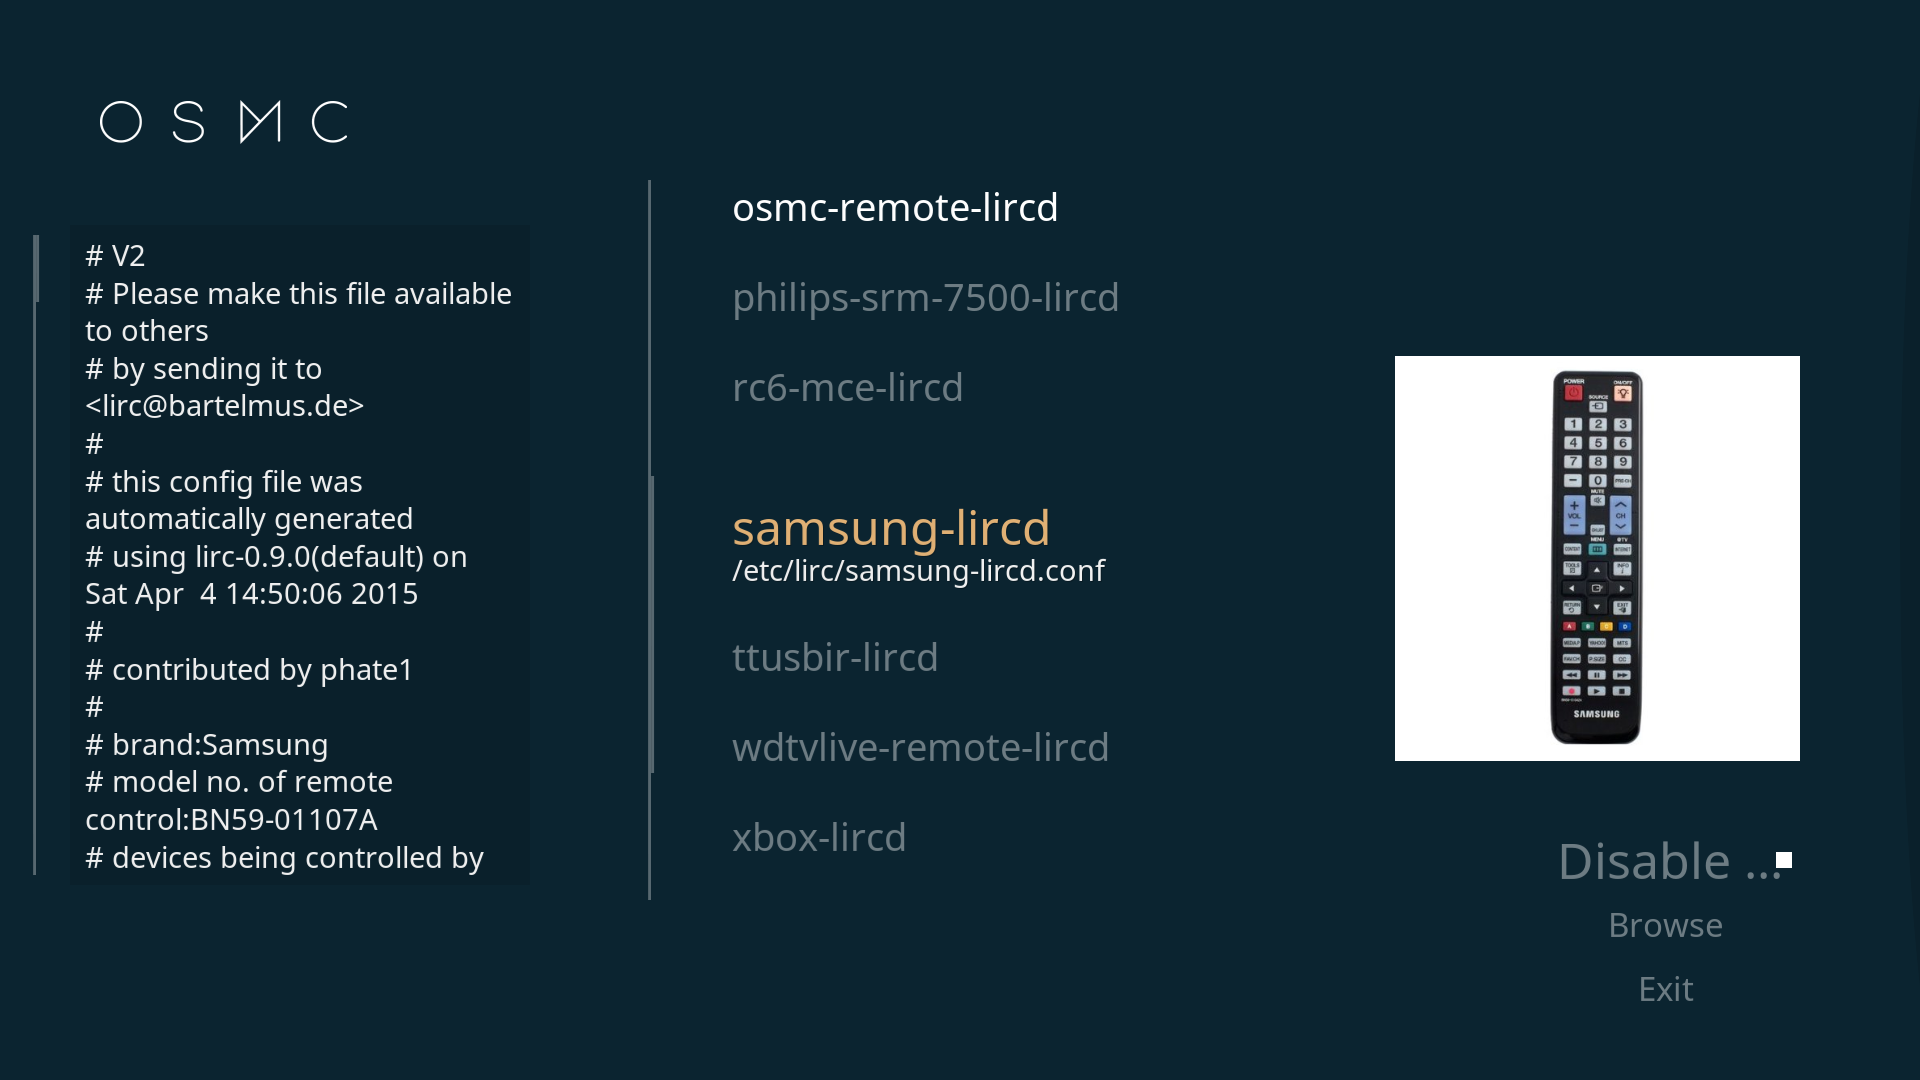
Select this to open the Remotes settings:
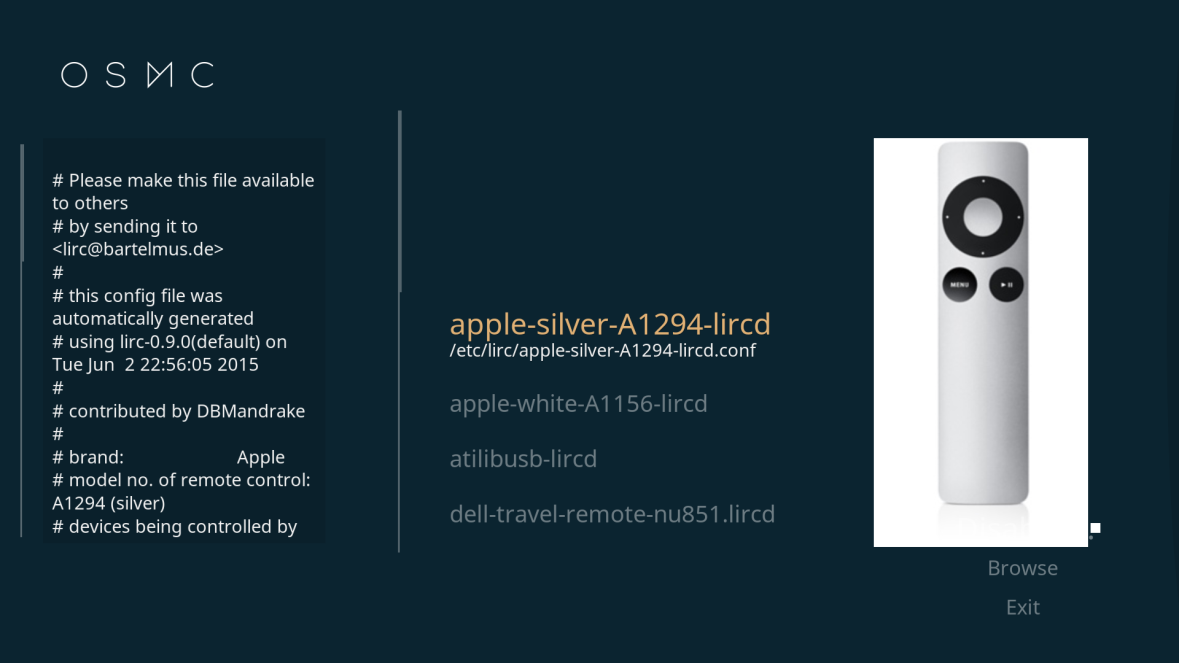
Navigate down until you see your remote control and select it:
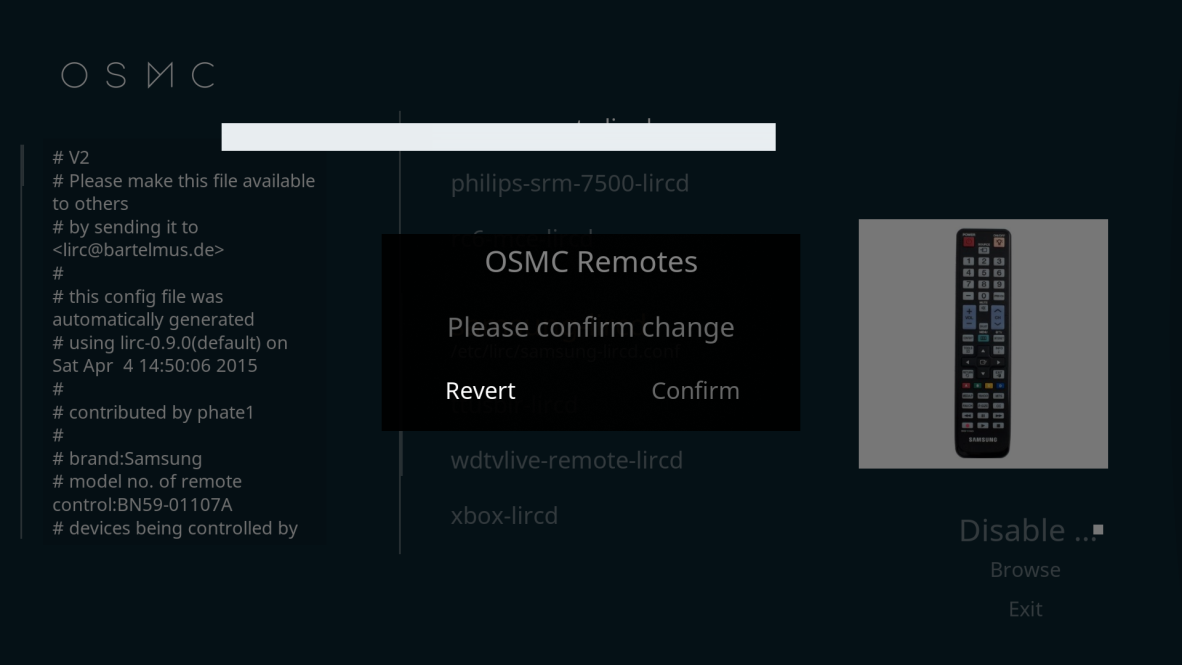
You will see a message asking to confirm the new settings, navigate to the right and select “Confirm” (If your remote control is not in the list refer to Programming LIRC in the advanced section of this user guide):
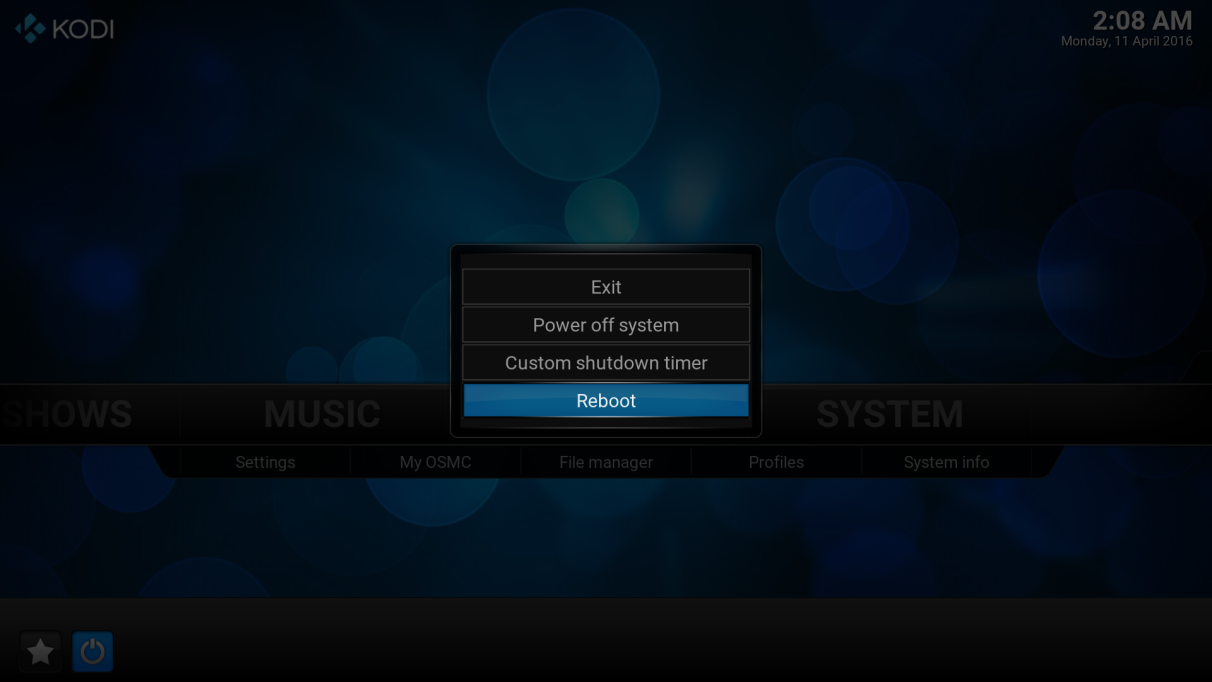
Keep pressing the “Back” key until you arrive at the Home screen. Navigate to the Power symbol at the bottom of the screen:
Select “Reboot” and wait for the Raspberry Pi to shutdown and re-start:
Once the Raspberry Pi restarts you should now have a working remote control.