Kodi Tutorial: Calibrating the Screen
Sunday 30th September 2018 8:35pm
Calibration
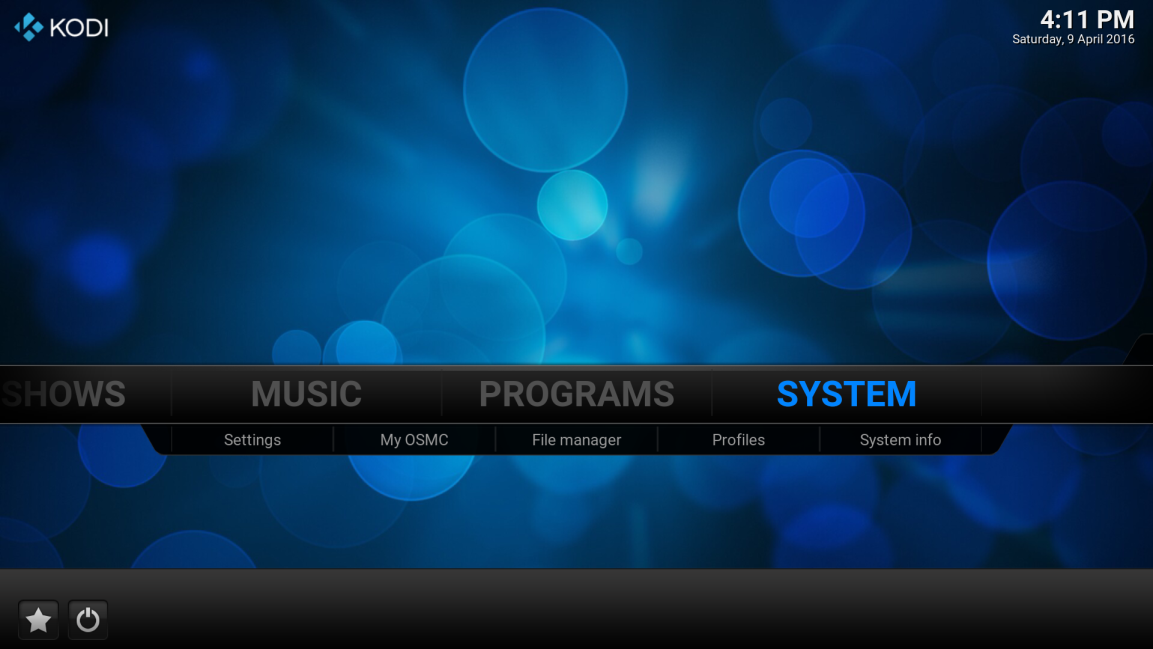
If you notice on the home page that the Kodi logo and the date & time are cropped we will need to calibrate the video output:
To calibrate the video output we need to navigate to the “SYSTEM” menu:
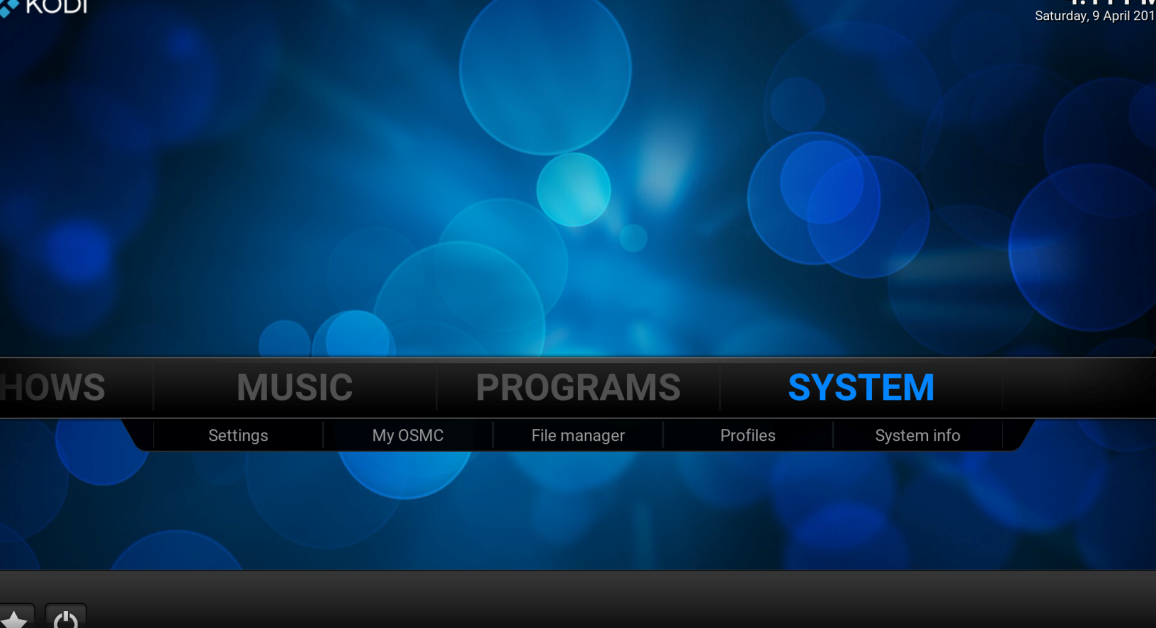
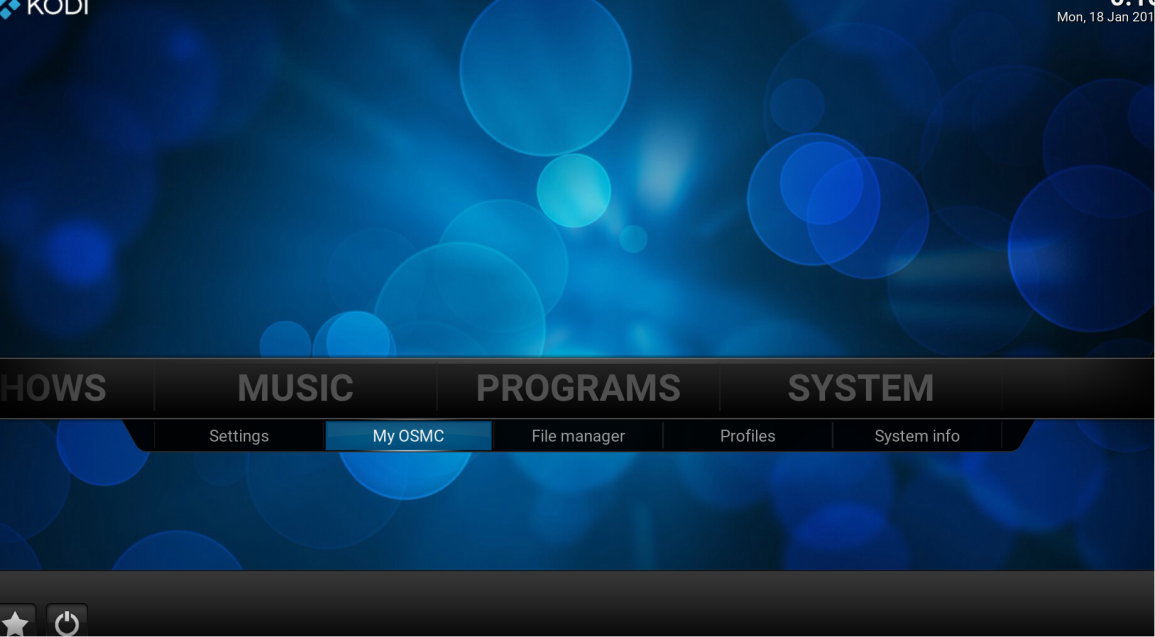
Select “SYSTEM” to open the Settings page:
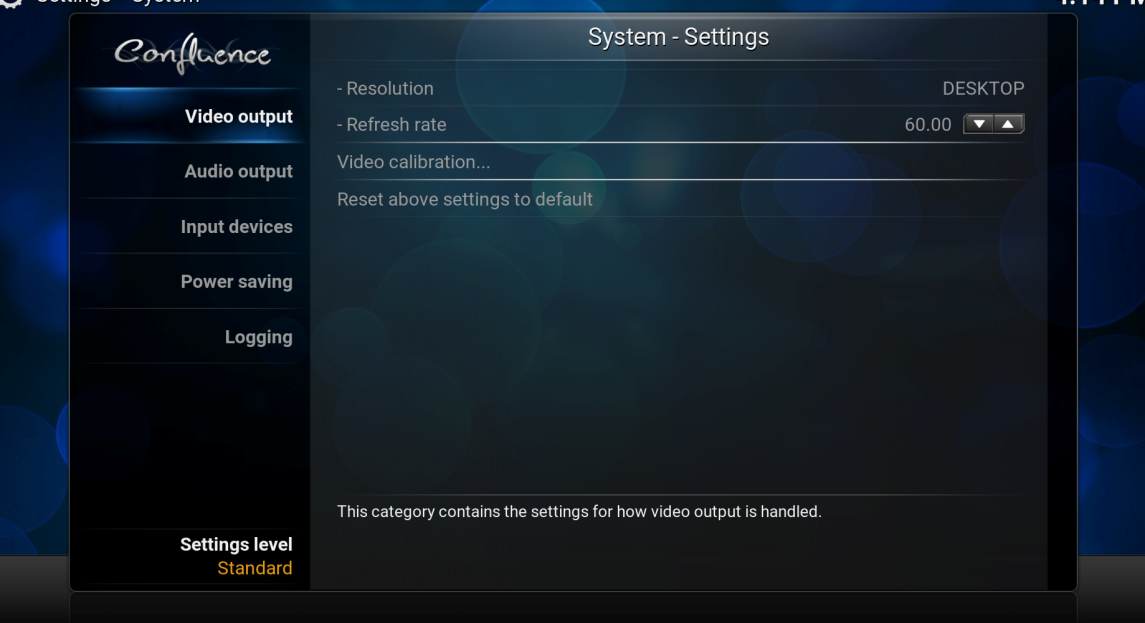
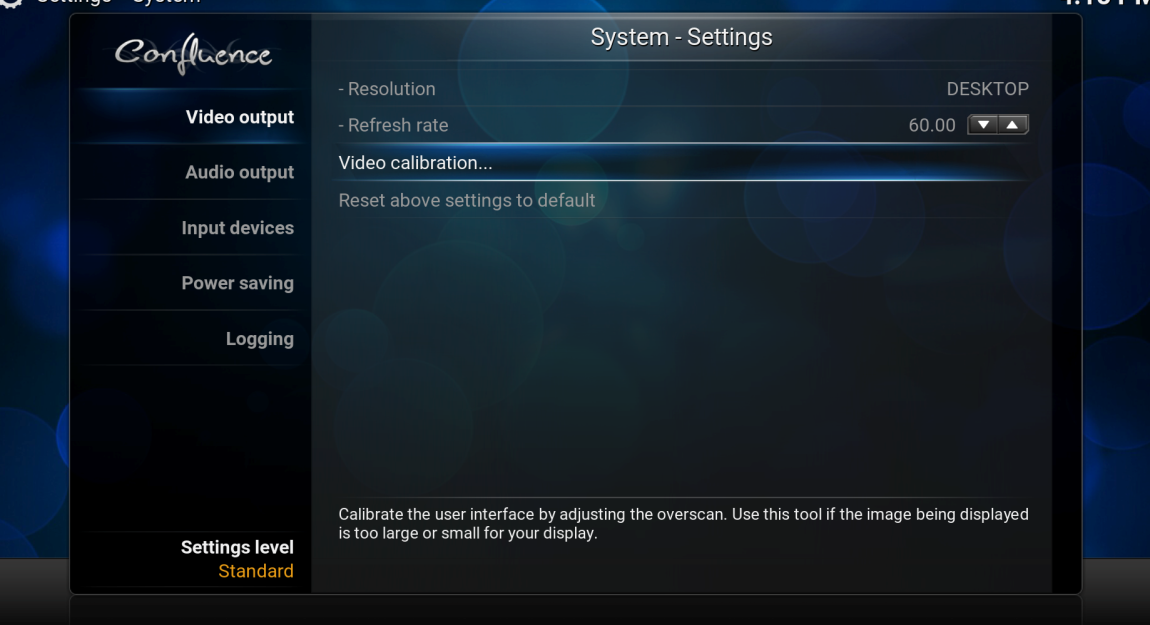
At the Settings page navigate to “Video output” and select “Video calibration”:
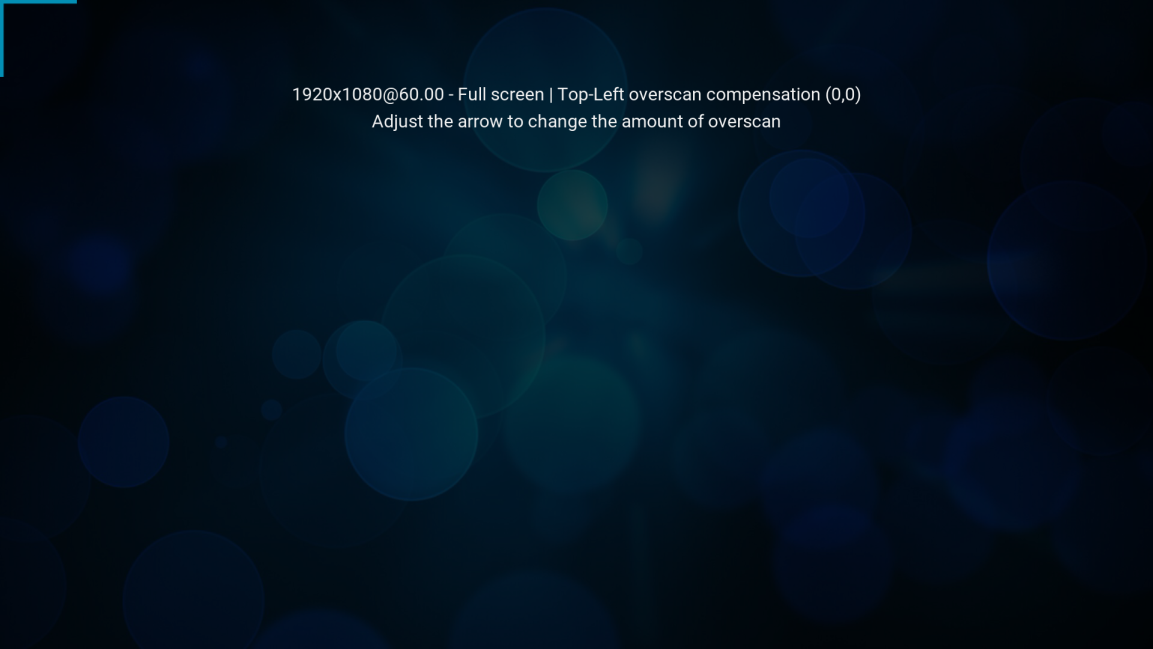
This will allow you to re-size the screen. We need to keep moving both down and right until a blue arrow appears in the top left-hand corner of the screen. Move yourself closer to the screen and position this (arrow) so that every pixel of your TV is in use; if you paid for a 1080 HD television you want to make sure you get all 2,073,600 pixels (1920 x 1080). Once your completely happy press the OK button on your remote to advance to the next stage:
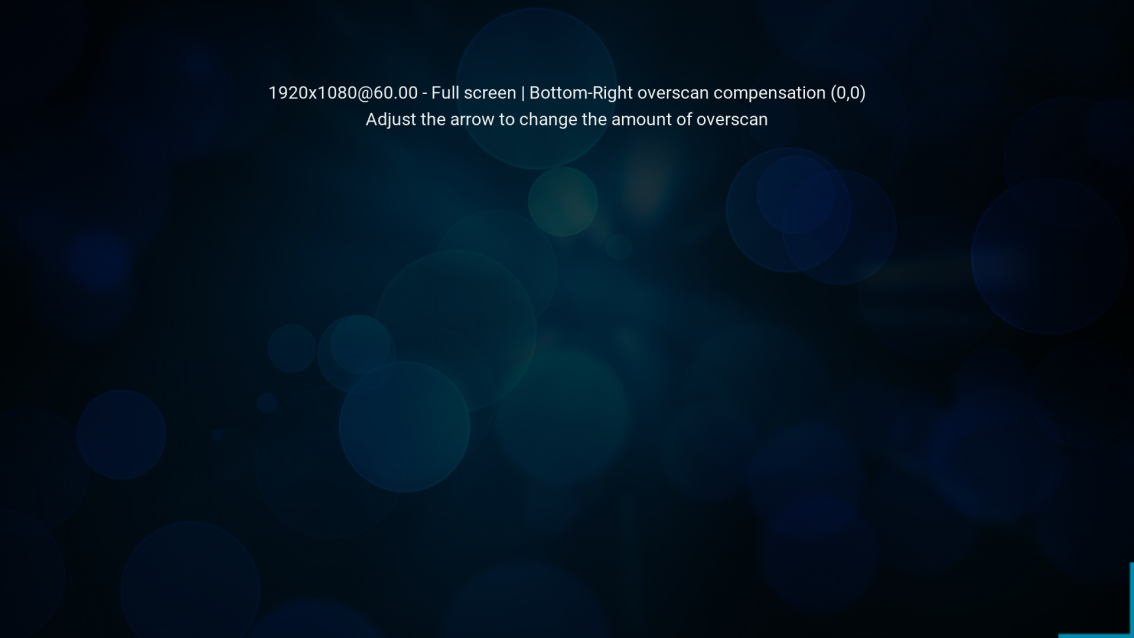
This process needs to be repeated with another blue arrow that appears in the bottom right-hand corner of the screen. Again when you are happy press the OK button on your remote to select:
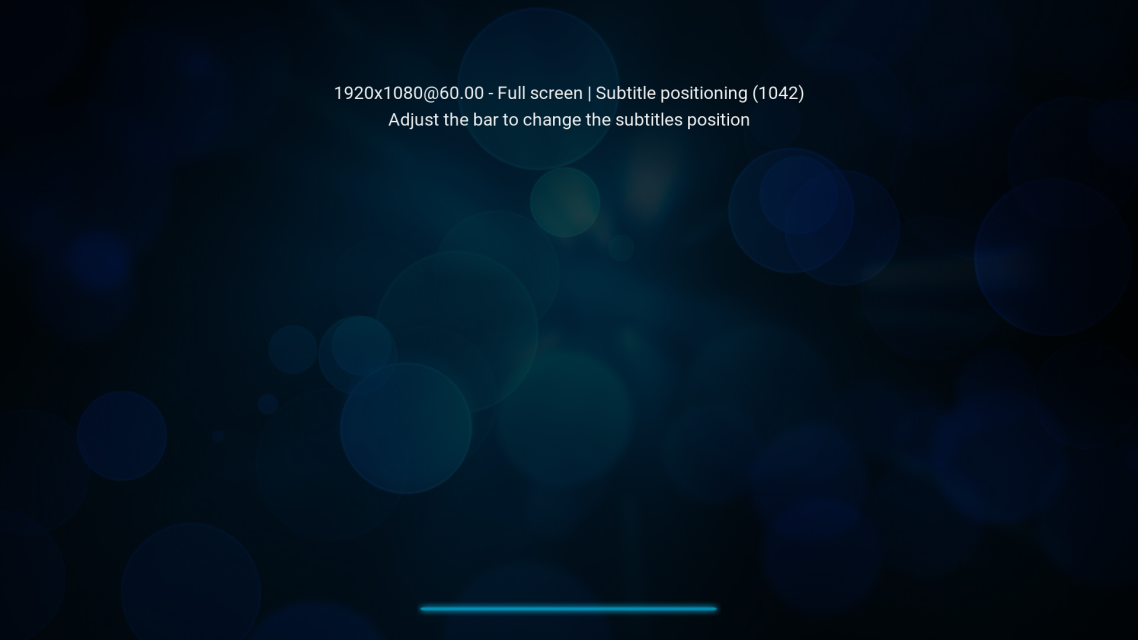
We are now presented with a blue line that represents where the subtitles would be positioned on the screen. Press OK again:
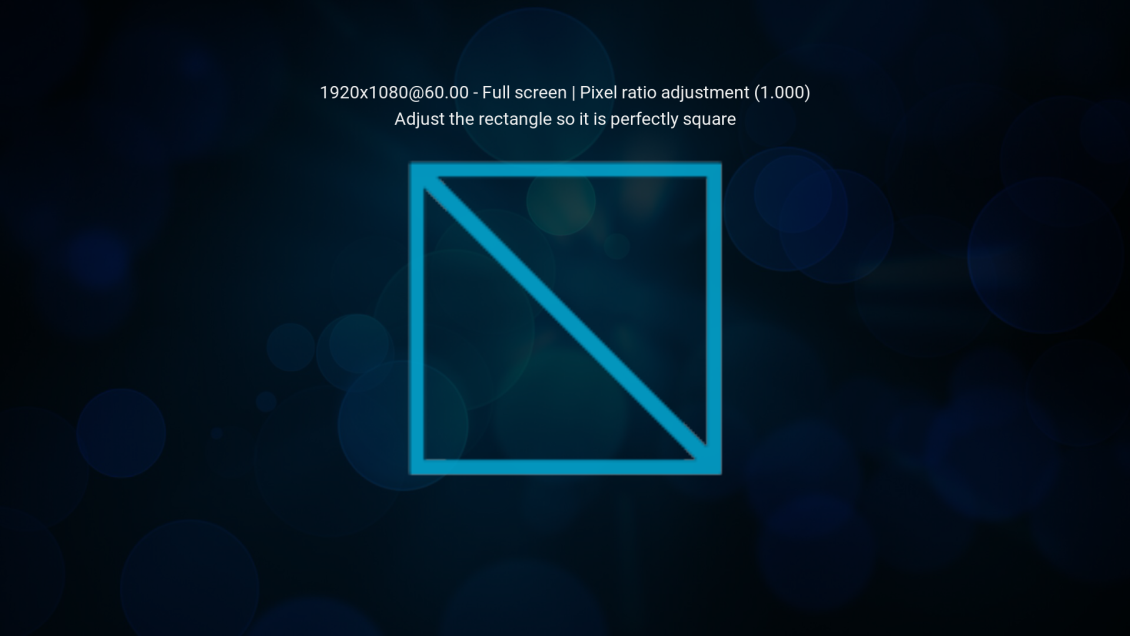
The last screen of the calibration process displays a blue square; this should be square not rectangular:
If everything looks OK press the Back key on the remote to exit. You should now notice that the Kodi logo in the top left-hand corner and the date & time in the top right-hand corner are now fully visible: