Kodi Tutorial: Connecting To The Internet
Sunday 30th September 2018 10:49pm
Get Connected
To connect the Raspberry Pi to the internet we have two choices either using an Ethernet cable or by configuring the Wi-Fi. My personal preference is to connect via Ethernet cable as this does not require any further configuration other than plugging it in.
Cable Connection
Simply connect one end of the Ethernet cable to your network router and the other end to the Raspberry Pi. If your network router is not in the same room as your Raspberry Pi you can purchase a device called a Power-Line that uses your existing house wiring to send and receive network traffic. You plug one Power-Line adapter into the wall socket next to the router and connect an Ethernet cable. The other Power-Line adaptor plugs into a wall socket next to the Raspberry Pi and again you’ll need to connect another Ethernet cable. To check you have an internet connection; at the Home screen navigate to “SYSTEM” menu and select the “System info” sub menu:
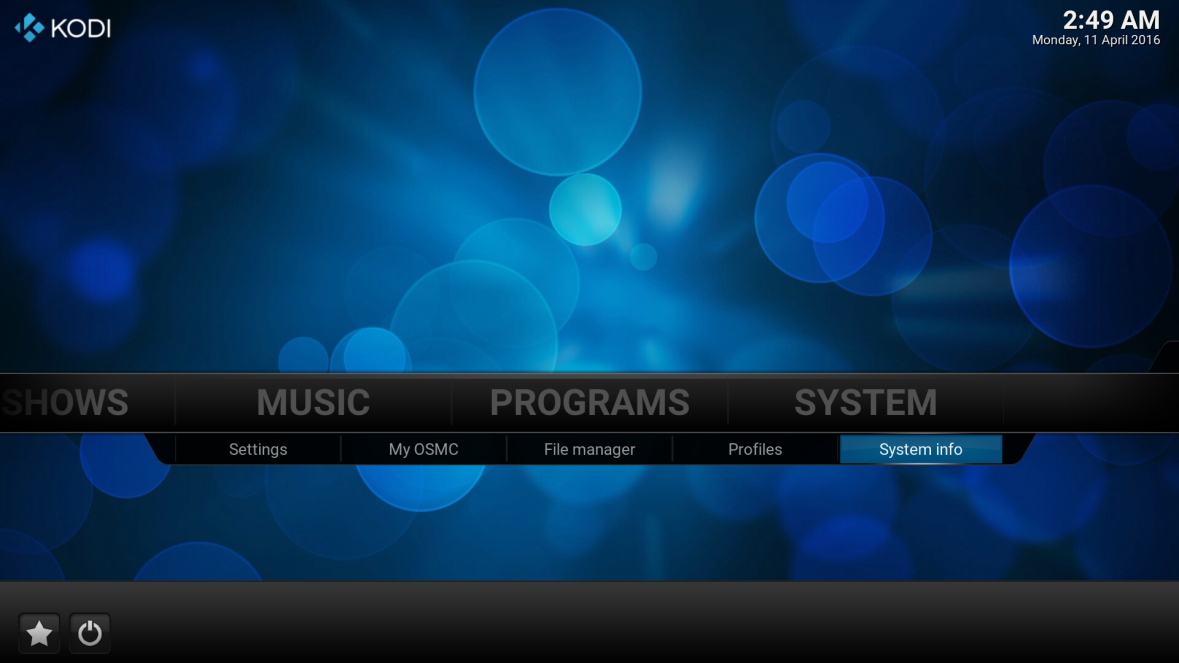
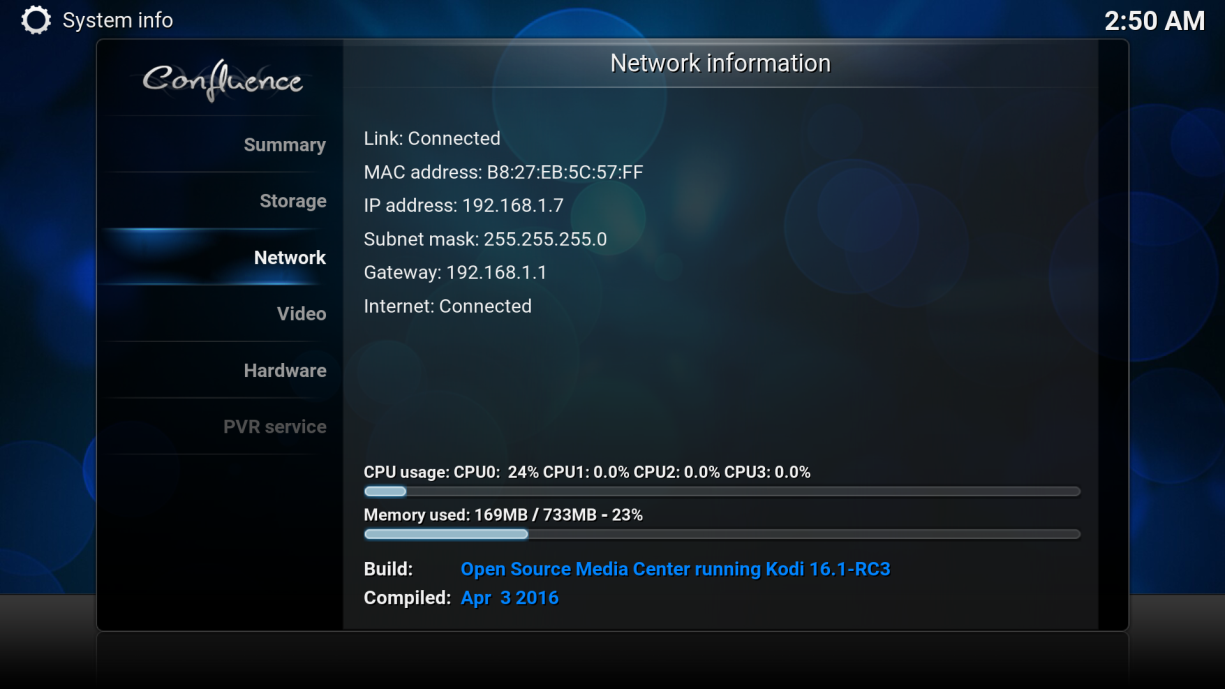
At the Summary Information screen navigate down to the “Network” tab:
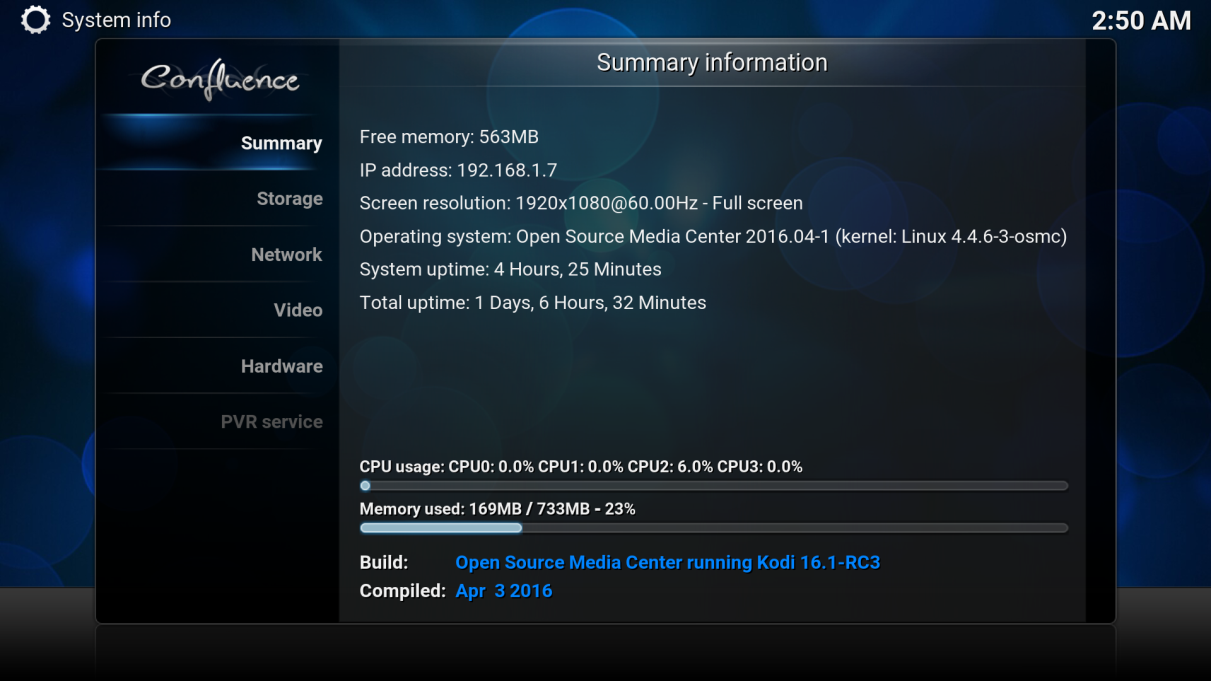
At the Network tab you should see the following information; Link Connected, IP Address, Gateway and Internet Connected:
Wi-Fi Connection
The Raspberry Pi 3 (released March 2016) comes with both Wi-Fi and Bluetooth built-in. To use Wi-Fi on previous versions of the Raspberry Pi you first need to purchase a USB Wi-Fi adaptor these usually cost around £6.00 and plug it into the one of the spare USB ports.
To connect to the Wi-Fi you first need to know the name of your wireless network and the password required to connect to it. Armed with this information at the Home screen we need to navigate to the “SYSTEM” and the “My OSMC” sub menu:

Navigate down to the Networks symbol at the bottom:

Select the Networks symbol:

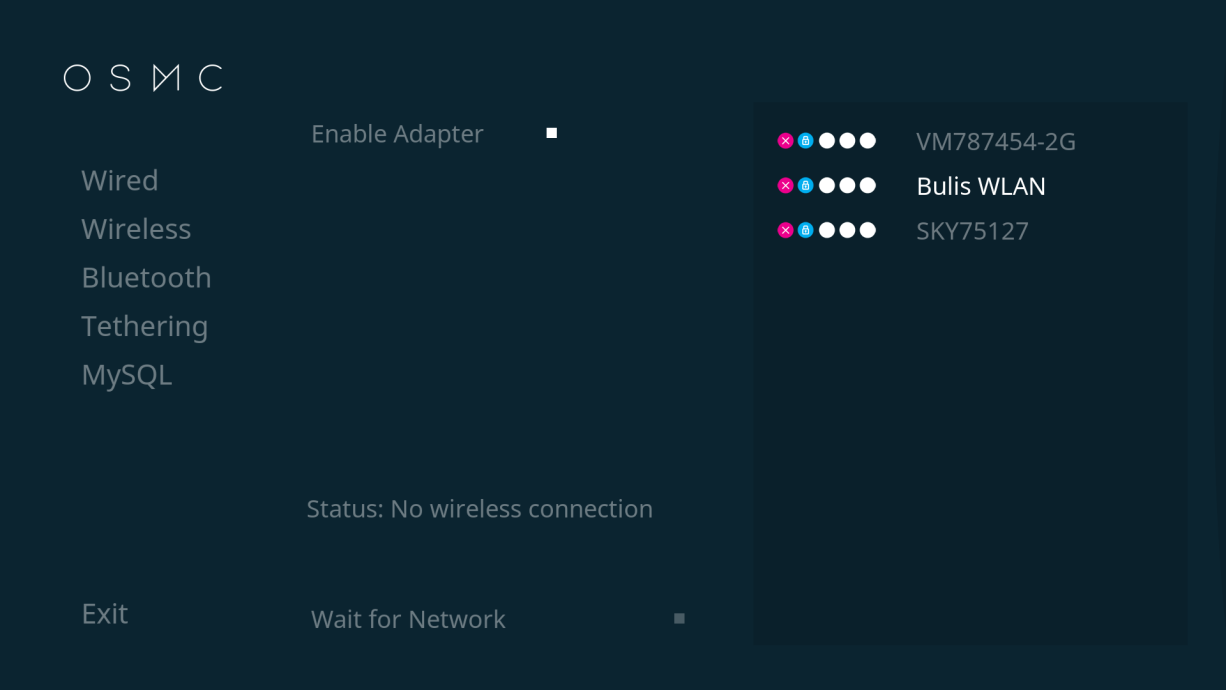
You are now presented with 5 tabs on the left; Wired, Wireless, Bluetooth, Tethering and MySQL. Navigate down until you are on the Wireless tab:
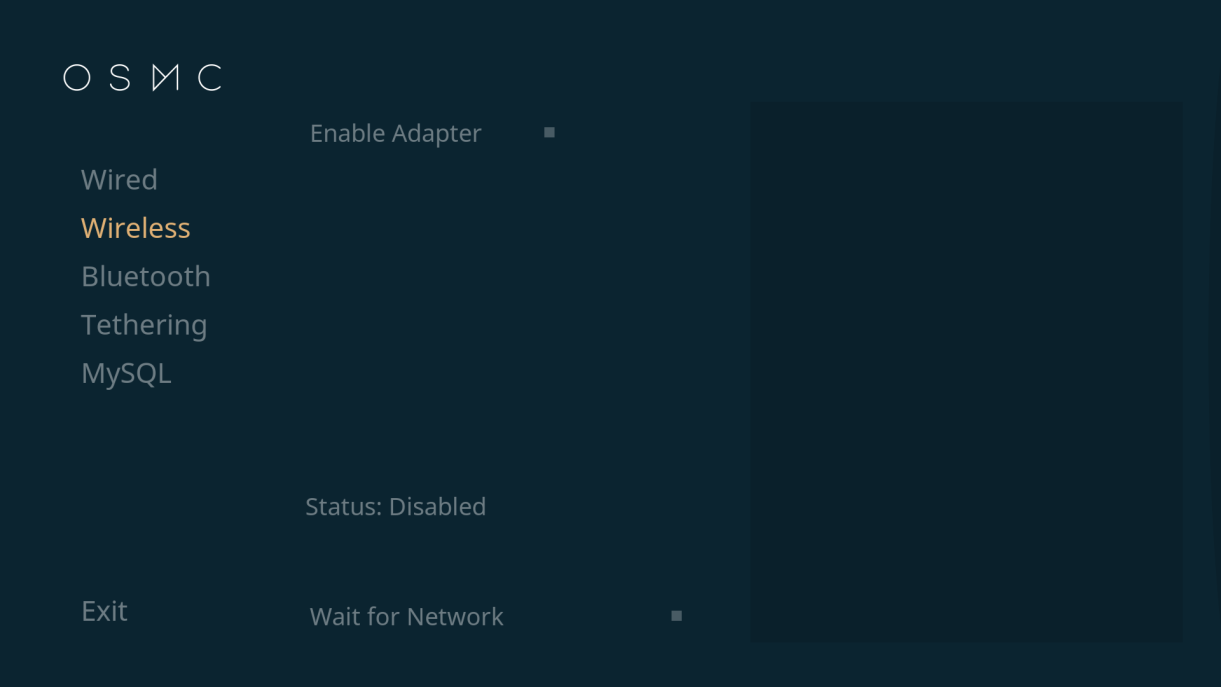
If the Wi-Fi is not enabled navigate to the right and enable it. The Raspberry Pi will scan the local area for available Wi-Fi networks and display them in the right-hand pane. Navigate to the right and down until you can select the name of the network you want to connect to.
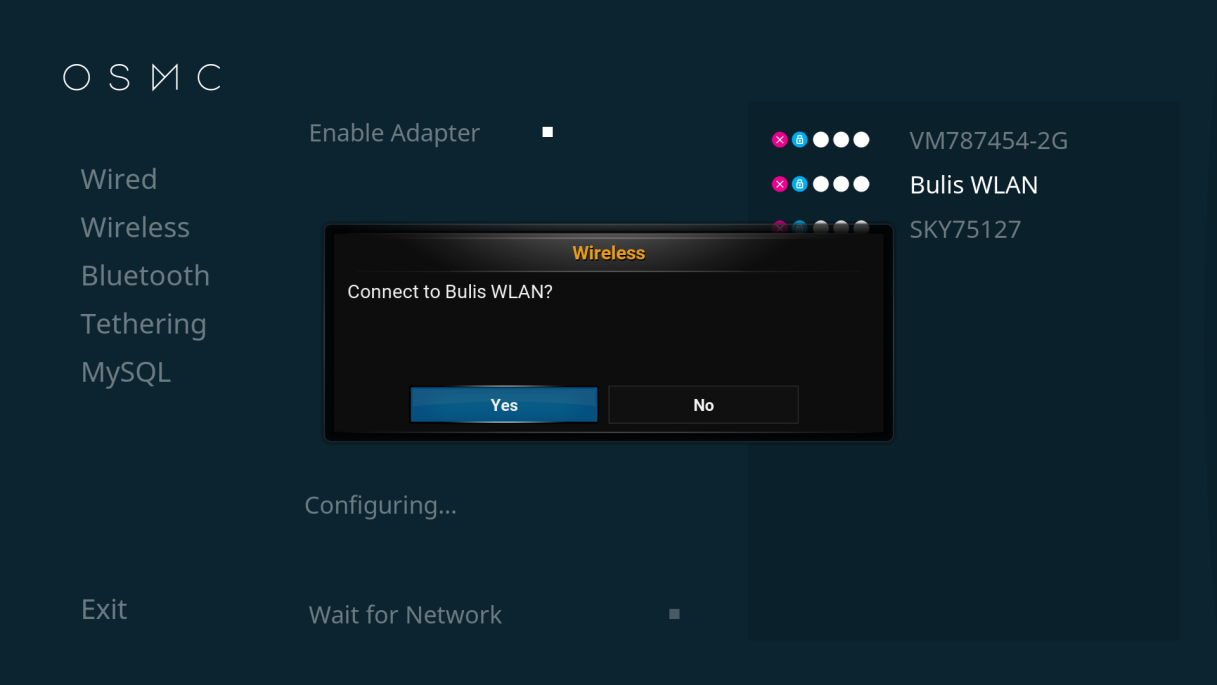
When you have selected the Wi-Fi network you will be asked to Confirm:
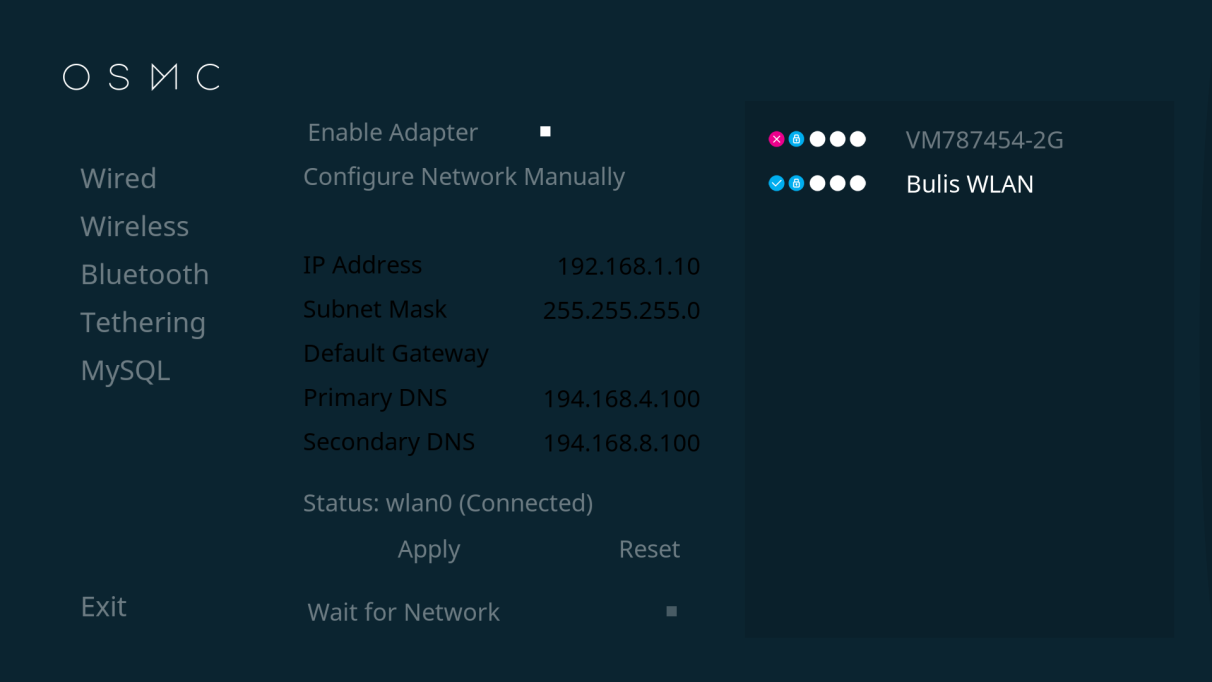
After confirmation you will be prompted to enter the network password, type this in and select “Done”. You should now be connected and the wireless network setting should display the IP address etc.:
Navigate down and select Exit. At the OSMC settings screen navigate to the centre symbol and select to get back to the Home screen:
To confirm that we are connected to the internet, navigate to “SYSTEM” menu and select the “System info” sub menu:
At the Summary Information screen navigate down to the “Network” tab:
At the Network tab you should see the following information; Link Connected, IP Address, Gateway and Internet Connected:
That’s all folks!!!