Kodi Tutorial: Adding Music
Monday 1st October 2018 2:00pm
Add Music Located on External USB Hard Drive
Adding Music as a audio source allows Kodi to create a database called the Library that catalogs what music you have and downloads the artwork and details about the artist and album. Kodi will then create a menu item on the Home page so that you can search for your favourite music by artist, album, or song. Above the Music menu item are images showing the the last ten albums that were added.
Adding Music
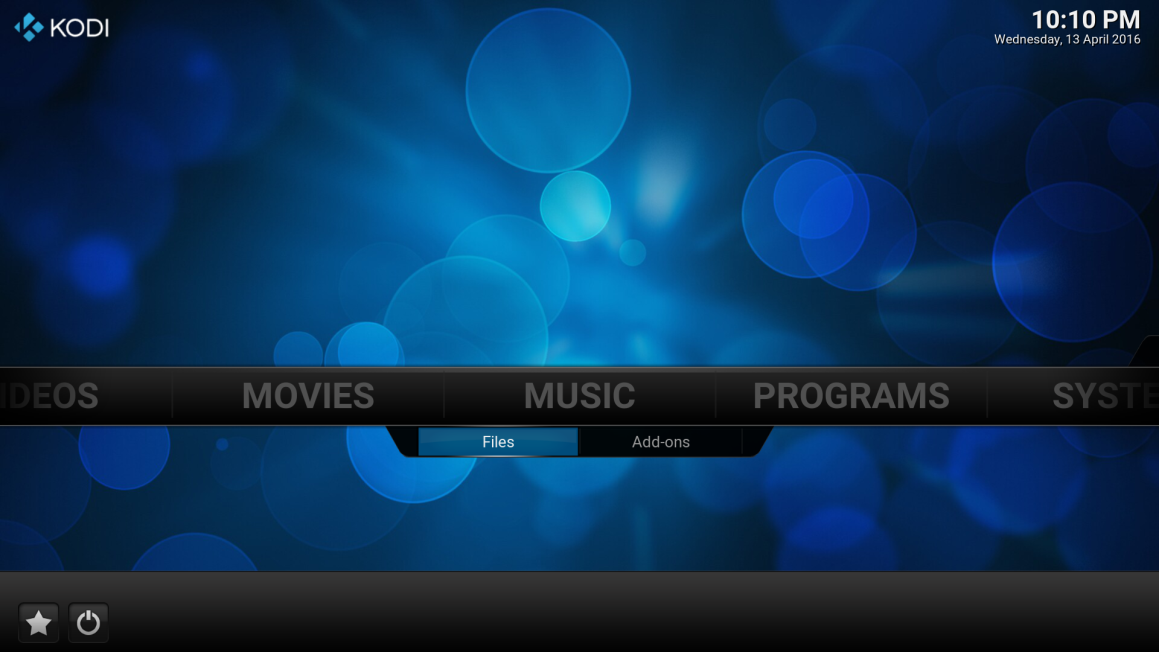
Navigate to the “MUSIC” menu and select the “Files” sub menu:
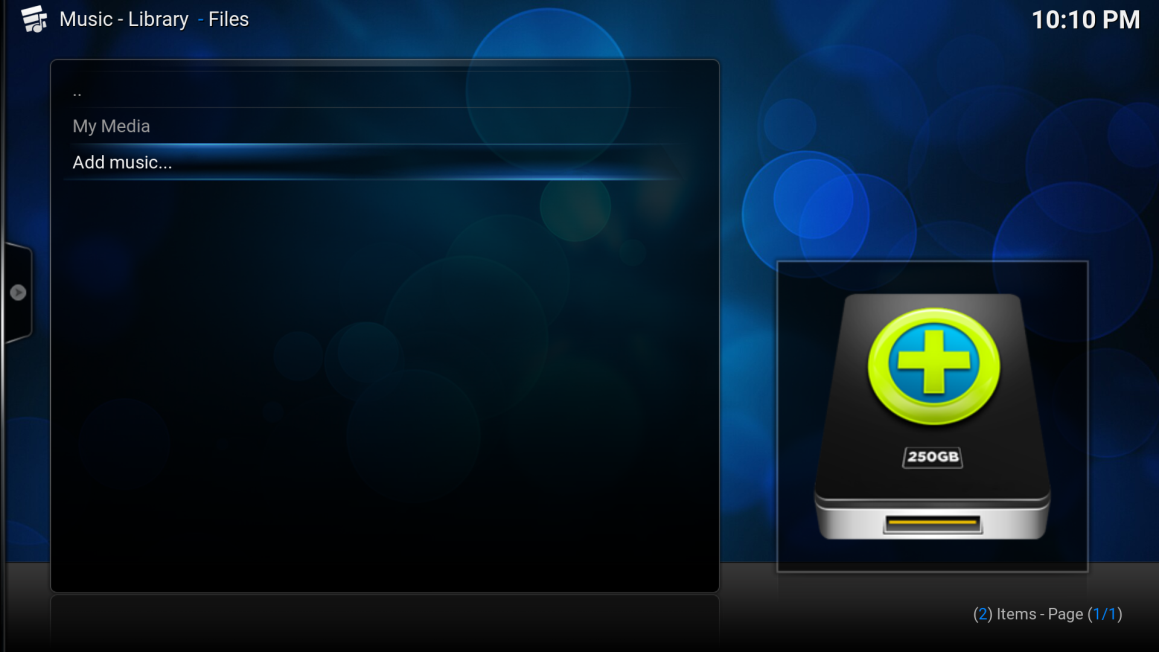
Navigate down and select “Add music…”:
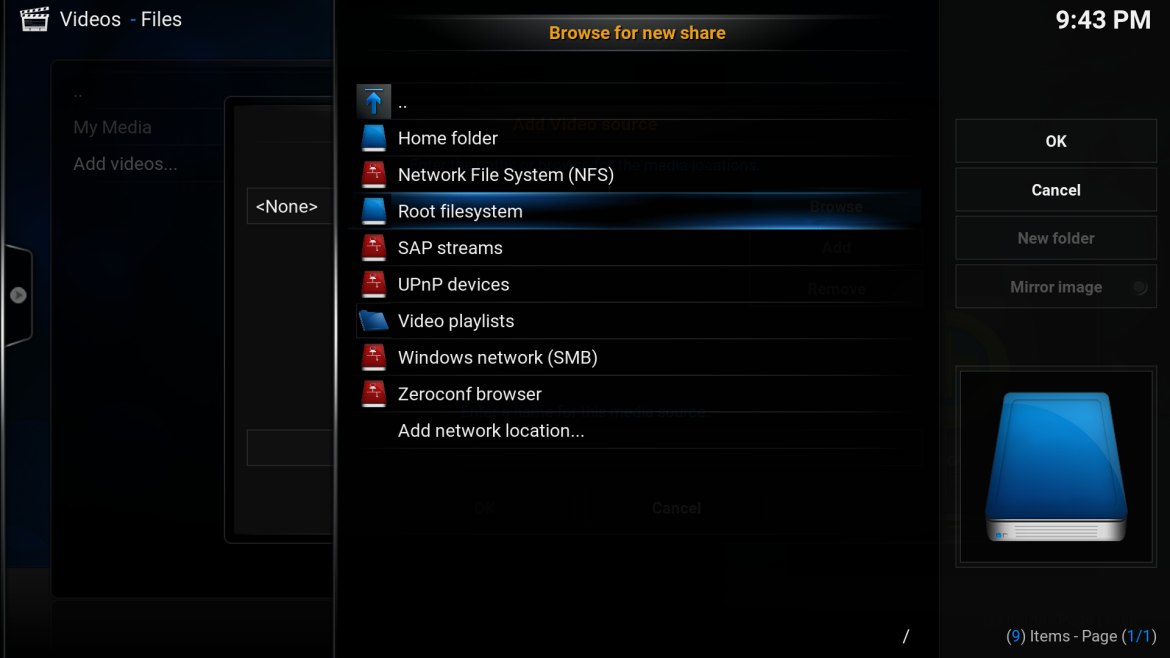
At the “Add Music source” screen navigate to the right and select “Browse”:

The “Browse for new share” panel will appear on the right side of the screen, navigate down and select “Root filesystem”:
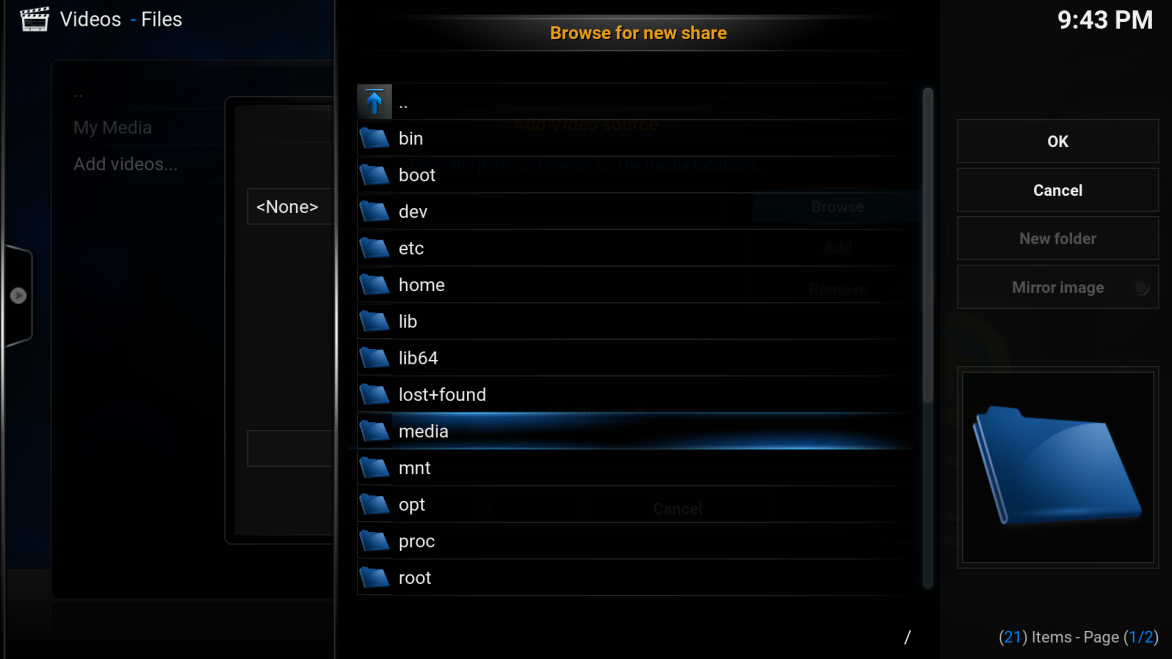
Navigate down and select “media”:
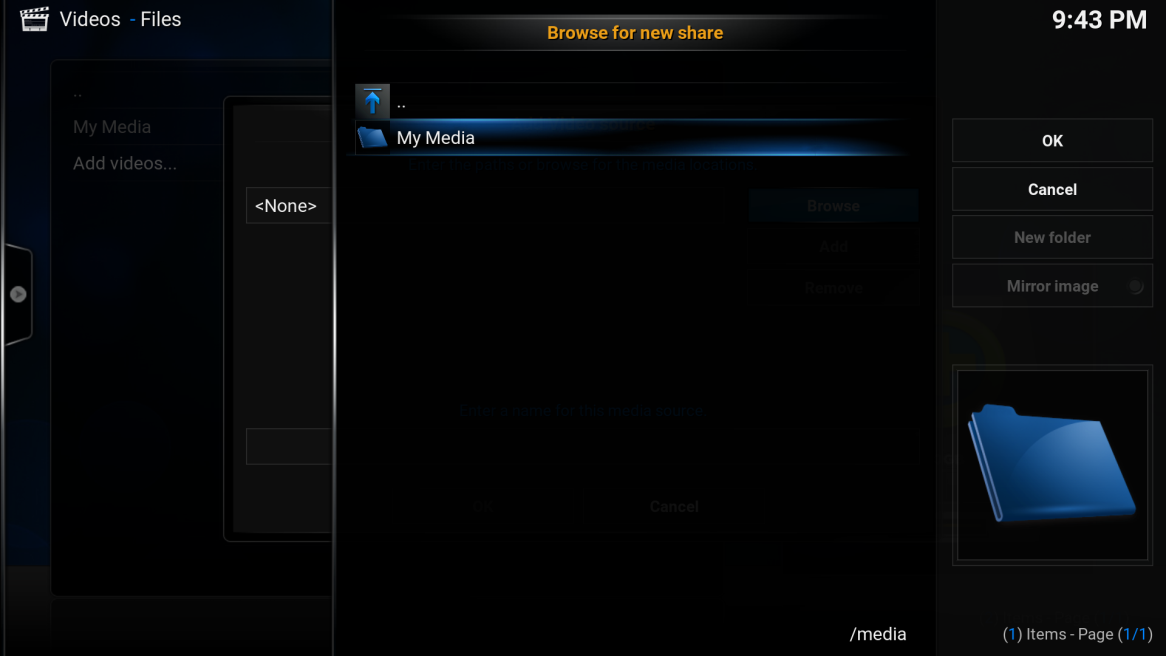
Navigate down and select “My Media”:
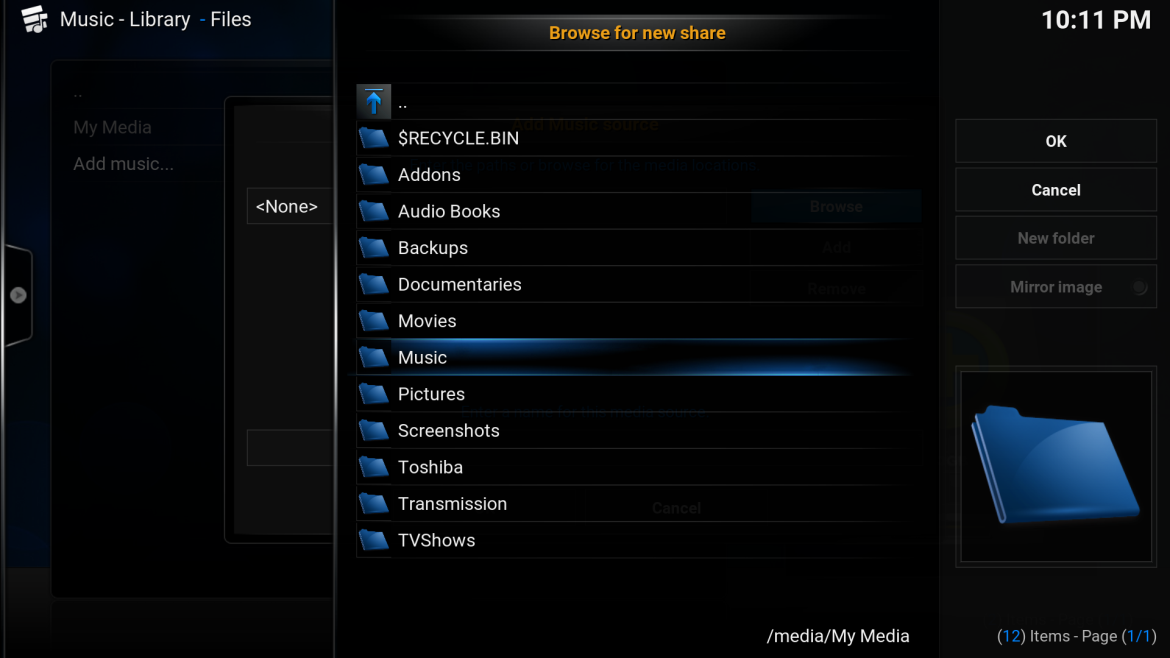
Navigate down and select “Music”:
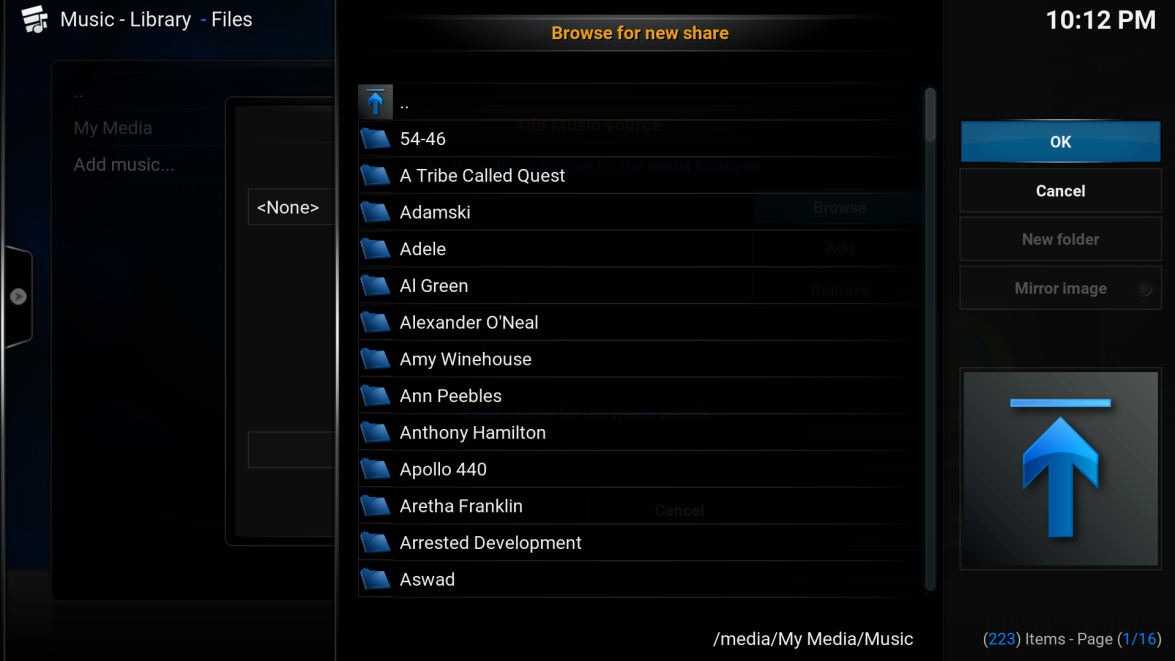
Navigate to the right and select the “OK” button:
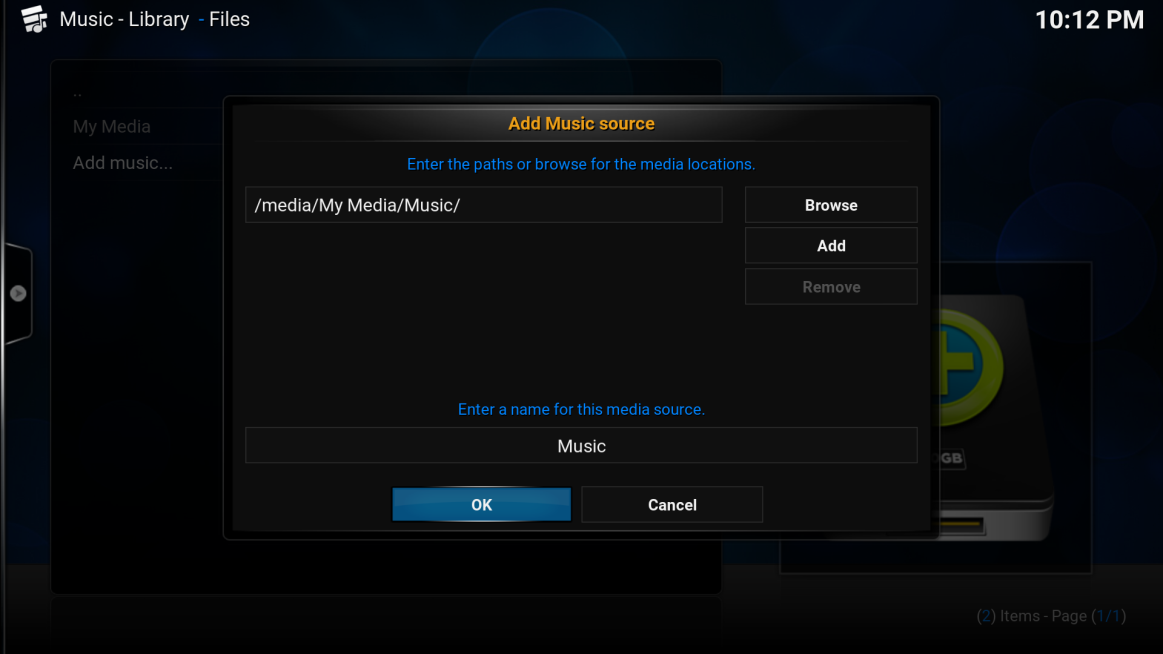
Navigate to the bottom of the “Add Music source” screen and select the “OK” button:
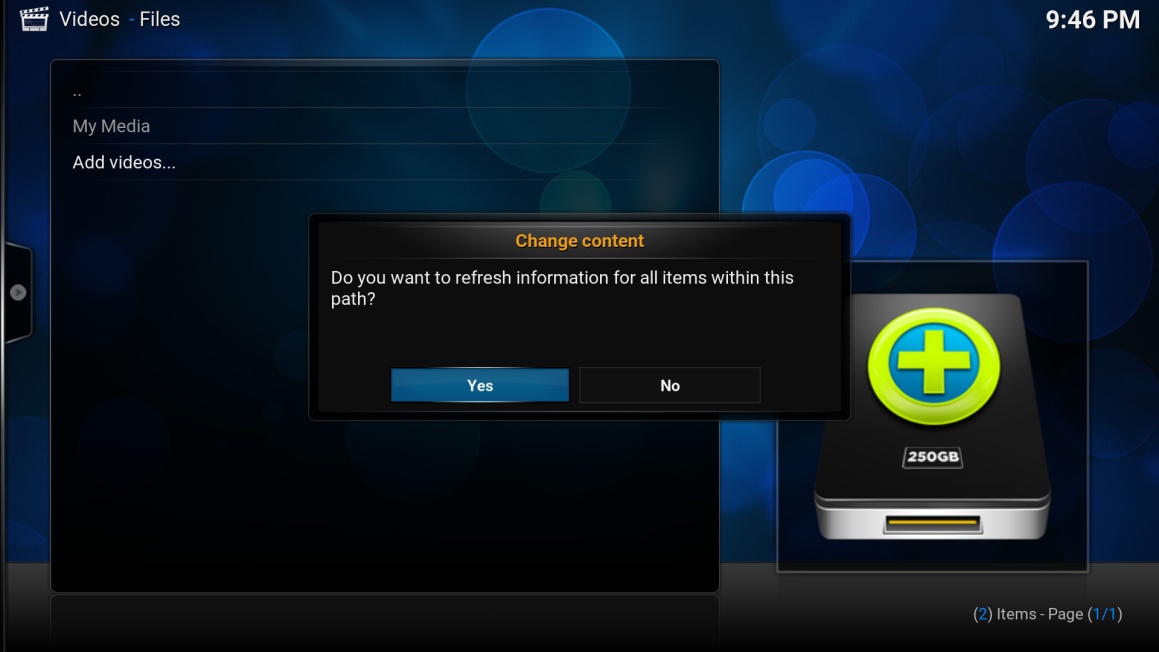
Select “Yes” when prompted “Do you want to refresh information for all items within this path?”:
You will see a progress bar appear in the top right-hand of the screen as details about the music are downloaded from the internet:
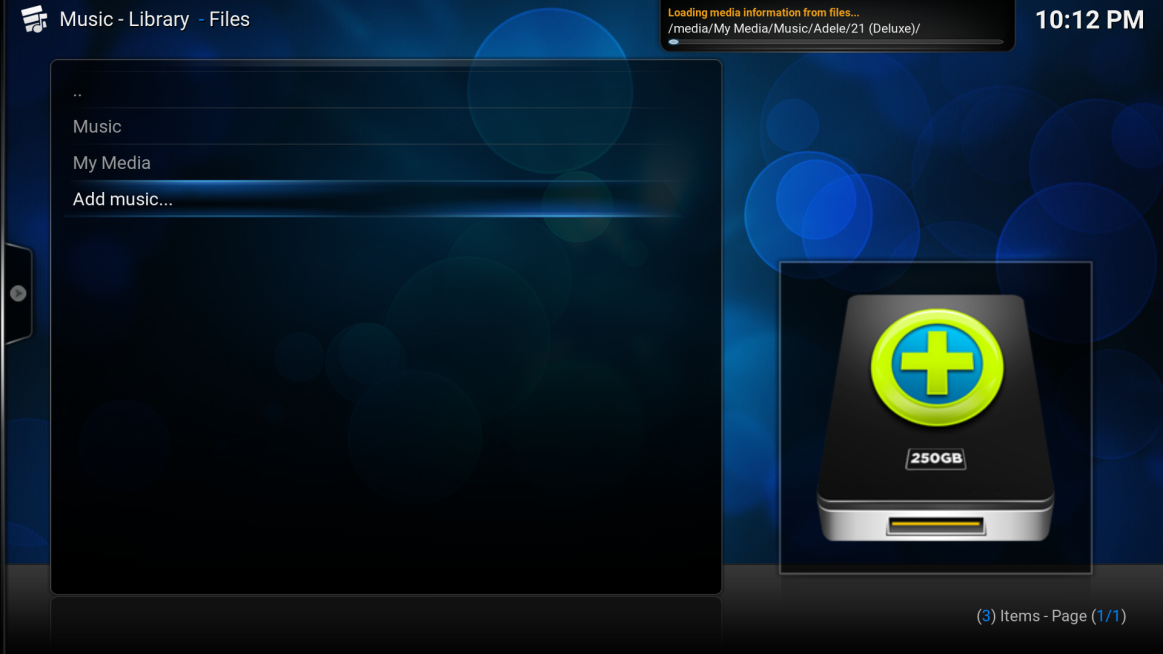
You will see a progress bar appear in the top right-hand of the screen as details about the music are downloaded from the internet. Once complete the Music sub menu items will appear on the Home screen.
Click here to Add Pictures.